Transform Data with AWS Glue (interactive sessions)
Transform Data with AWS Glue (interactive sessions)
In this module, we will use AWS Glue (interactive sessions) to process the data and save the results back to a transformed layer in S3.
We will use Glue Studio and Jupyter notebooks provided by AWS Glue Interactive Sessions to perform the data transformation steps.
What is AWS Glue (interactive sessions)?
Interactive sessions allow you to interactively develop AWS Glue workflows, run and test each step, and see the results. If you prefer a code-driven experience and want to create an interactive data integration workflow, an interactive session is the recommended choice.
Prepare IAM Policies and roles
Note: Skip this section if you have already created the IAM policy and Glue role in the Data Warehouse module on Redshift and go to the Using Jupyter Notebook in AWS Glue for interactive ETL development of this module.
- In this step, you will navigate to the IAM console and create the IAM policies and roles needed to work with Jupyter notebooks and AWS Glue Studio interactive sessions.
- Let’s start by creating an IAM policy for the AWS Glue manual role.
- Select Policies from the panel on the left sidebar
- Select Create policy
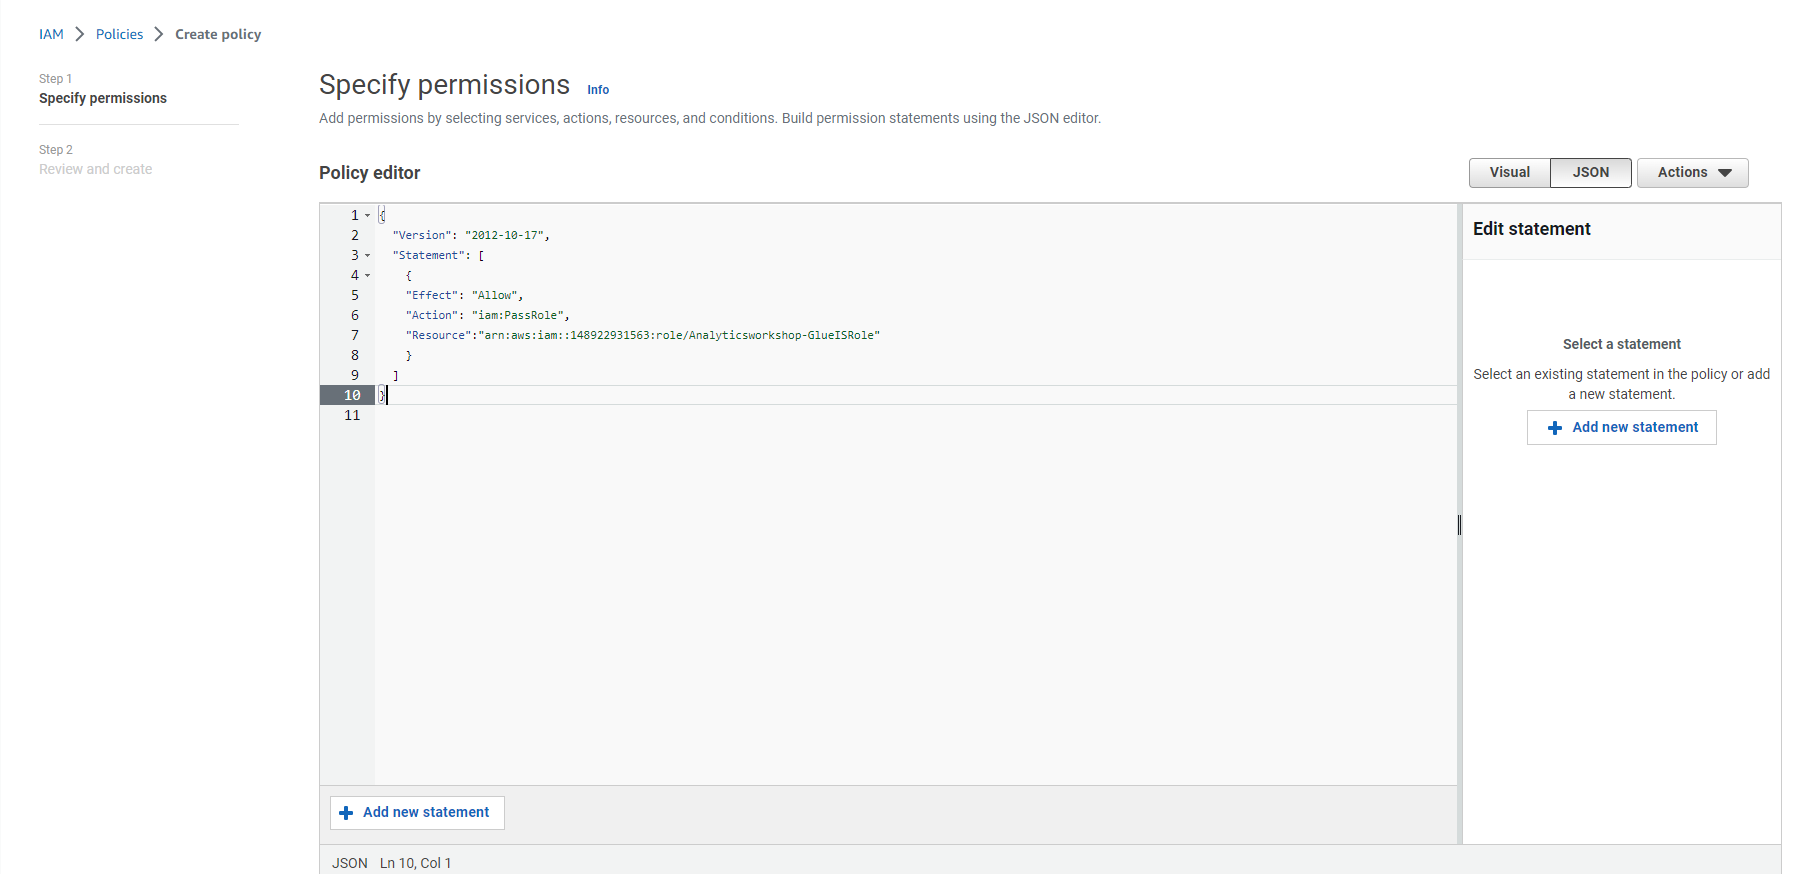
- Select the JSON tab
- Replace the default text in the policy edit window with the following policy statements.
{
"Version": "2012-10-17",
"Statement": [
{
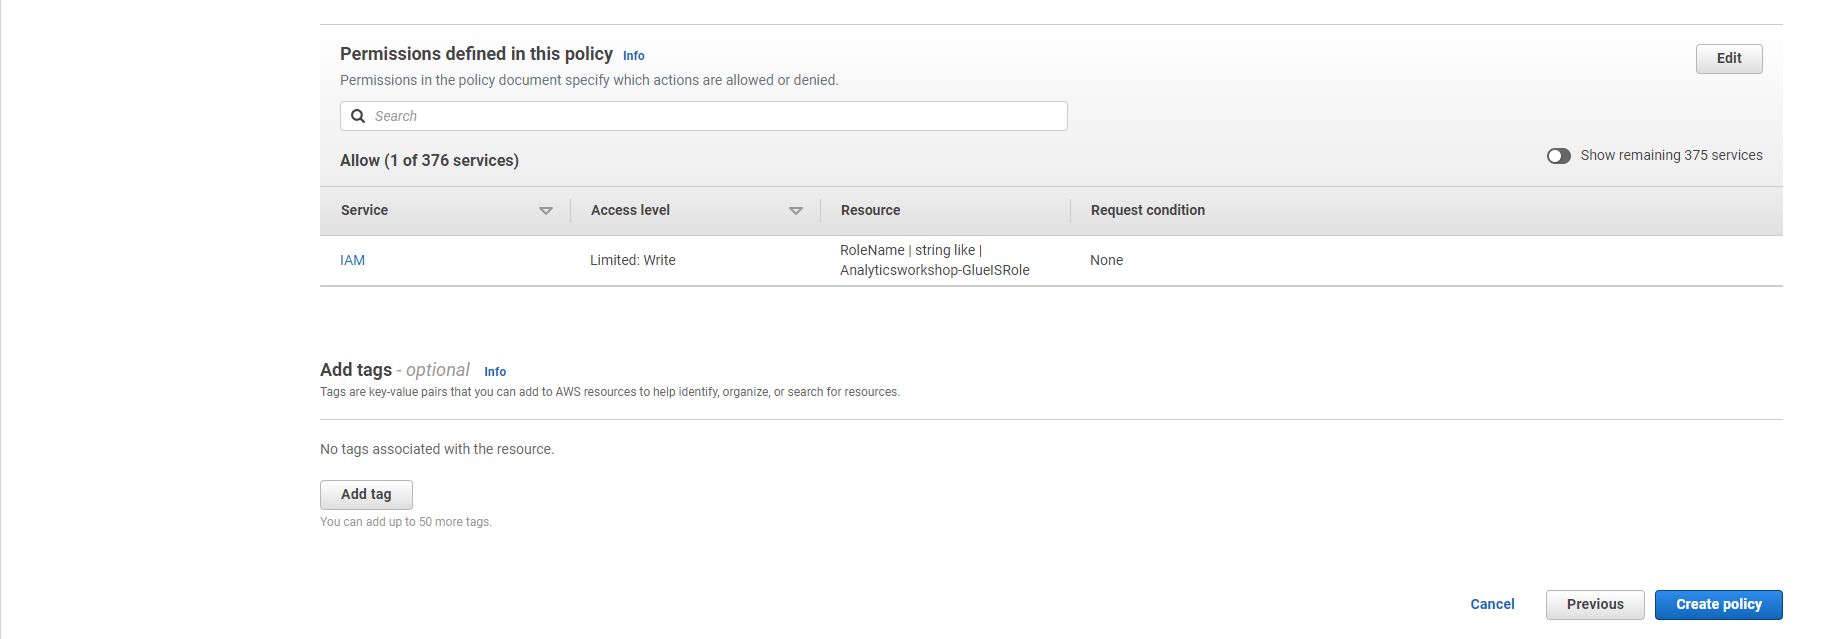
"Effect": "Allow",
"Action": "iam:PassRole",
"Resource":"arn:aws:iam::<AWS account ID>:role/Analyticsworkshop-GlueISRole"
}
]
}
- Note that Analyticsworkshop-GlueISRole is the role we created for the Jupyter notebook AWS Glue Studio in the Next step.
Warning: Replace with your AWS account ID in the copied policy statement.
- Select Next: Tag
- Option to add tags, eg:workshop: AnalyticsOnAWS
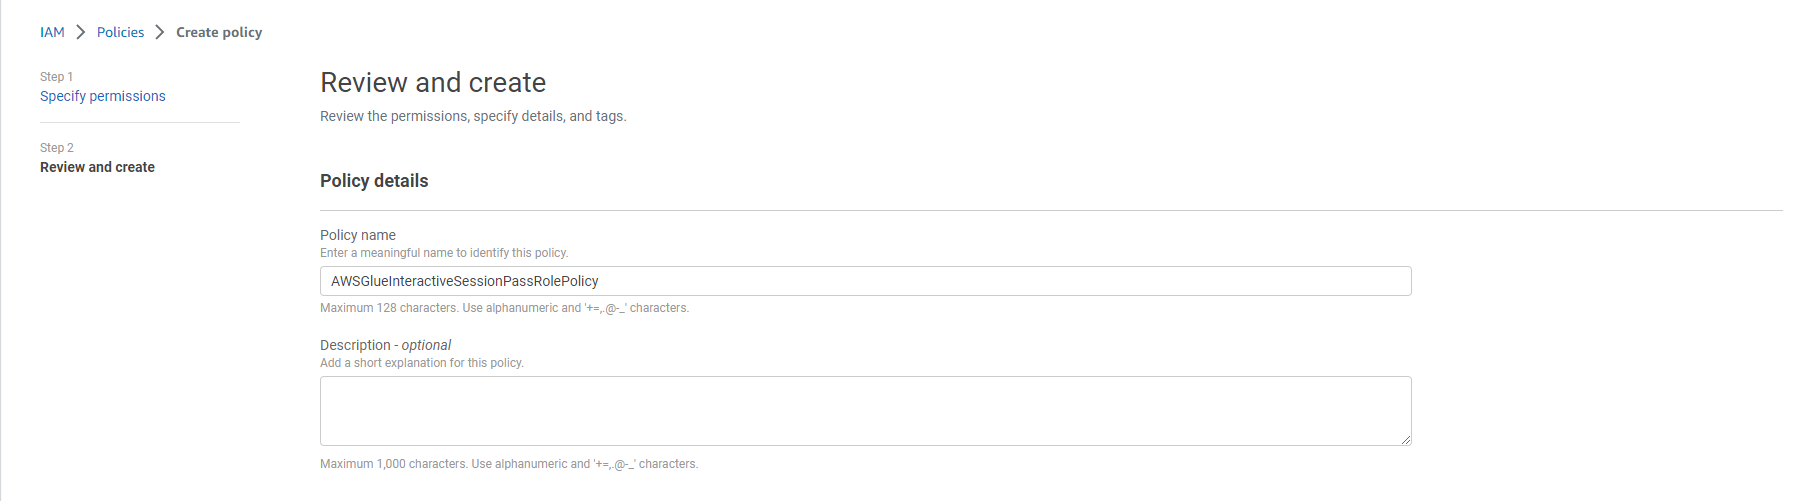
- Select Next: Review
- Policy name: AWSGlueInteractiveSessionPassRolePolicy
- Option to write a description for the policy:
- Description: policy that allows AWS Glue notebook roles to pass to interactive sessions so that the same role can be used in both places
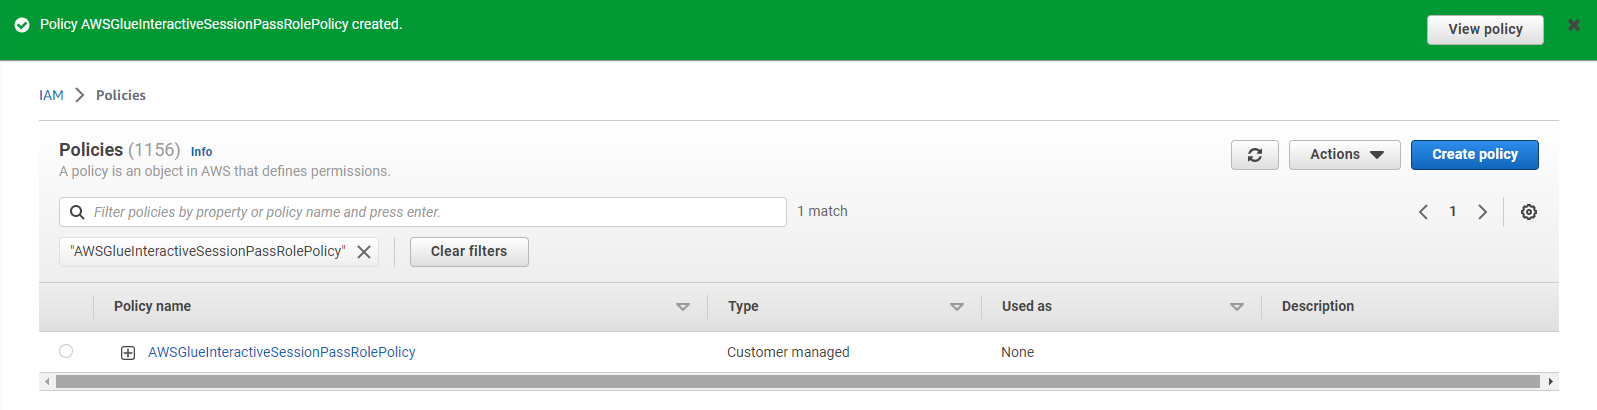
- Select Create Policy
- Select Roles from the left sidebar
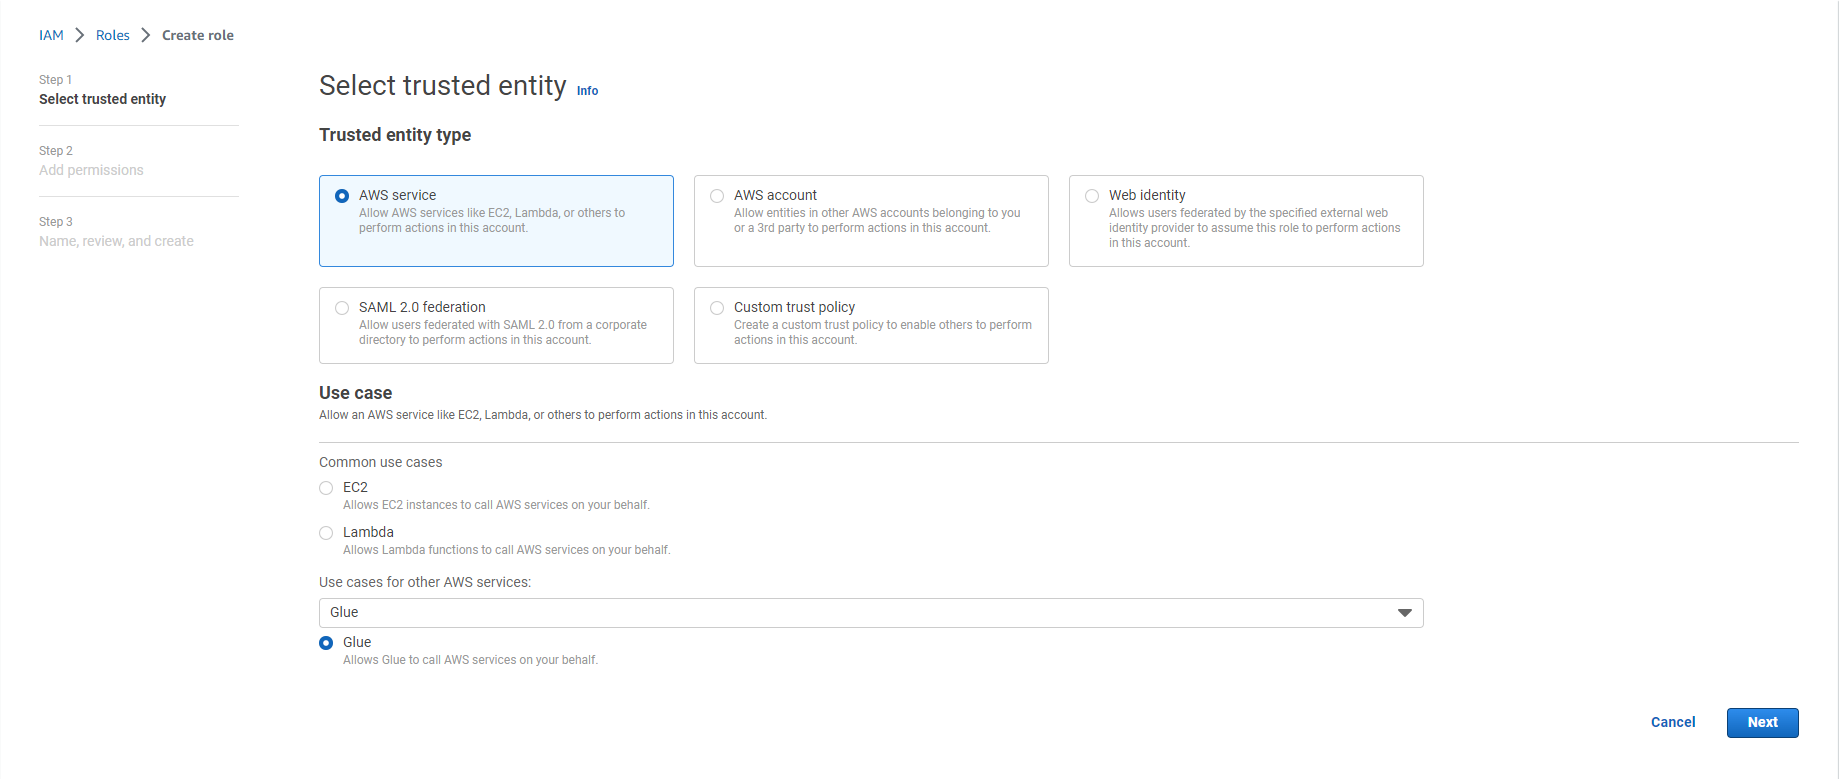
- Select Create role
- Select the service that will use this role: Glue under Use Case and Use cases for other AWS services:
- Select Next
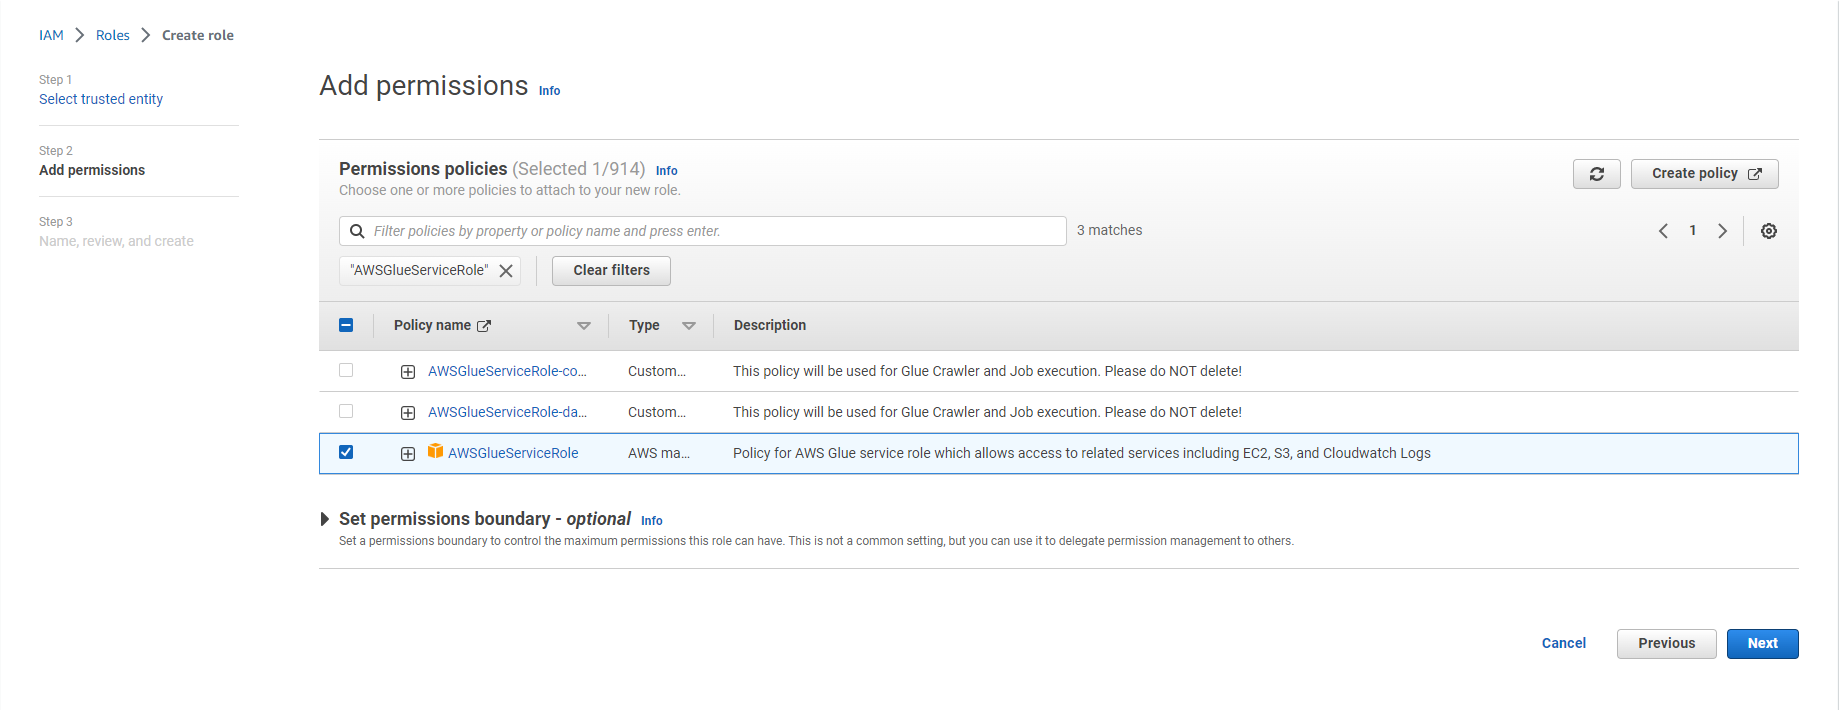
- Search for the following policies and select the check box next to them:
- AWSGlueServiceRole
- AwsGlueSessionUserRestrictedNotebookPolicy
- AWSGlueInteractiveSessionPassRolePolicy
- AmazonS3FullAccess
- Select Next
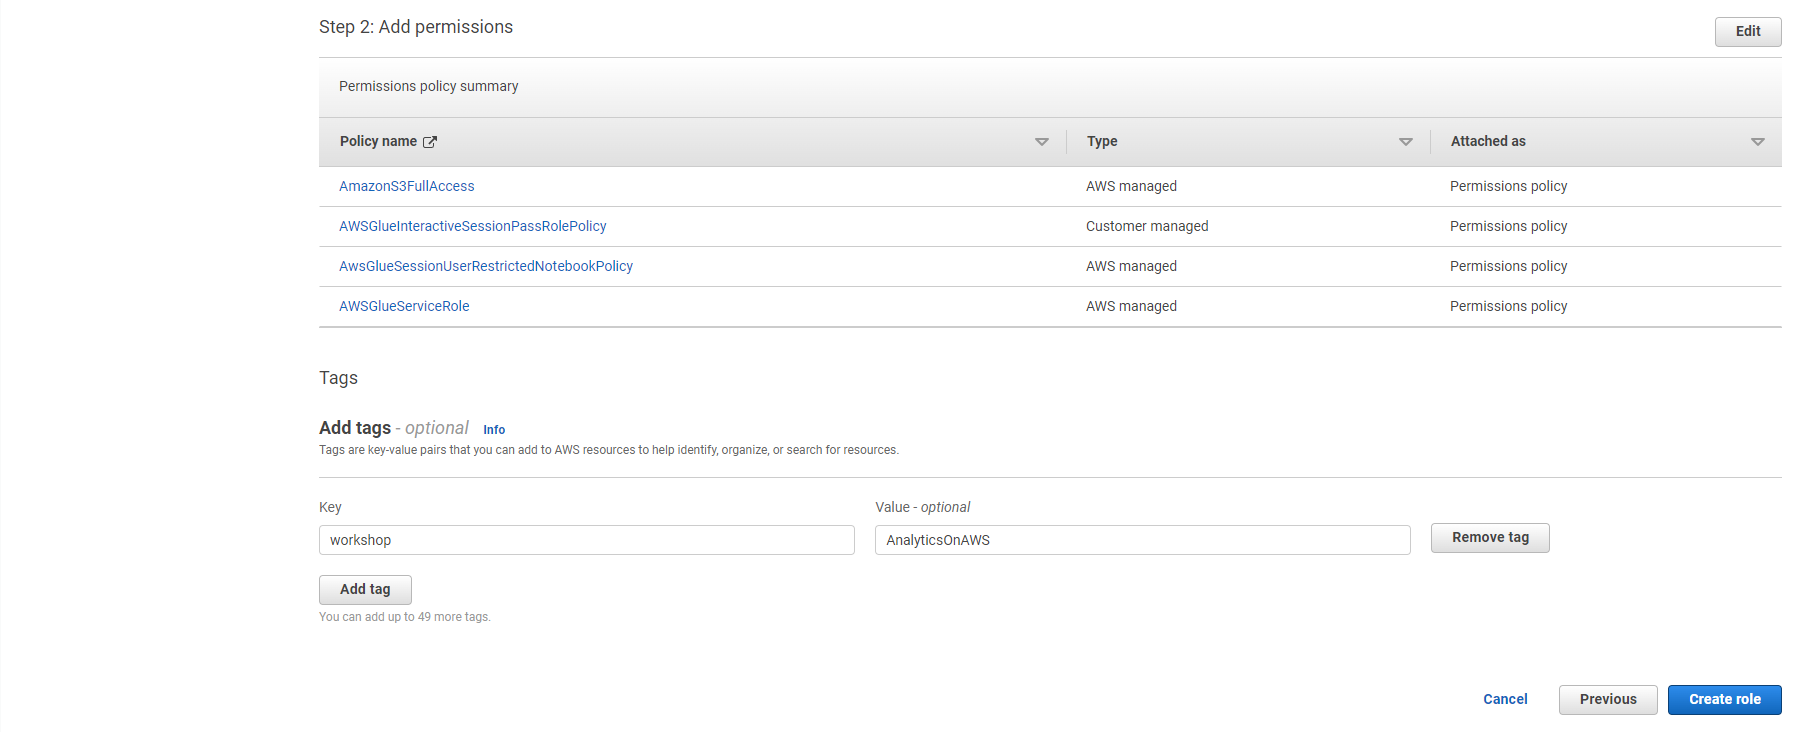
- Role Name: Analyticsworkshop-GlueISRole
- Make sure only four policies are attached to this role (AWSGlueServiceRole, AwsGlueSessionUserRestrictedNotebookPolicy, AWSGlueInteractiveSessionPassRolePolicy, AmazonS3FullAccess)

- Optionally add Tags (labels), e.g. workshop: AnalyticsOnAWS
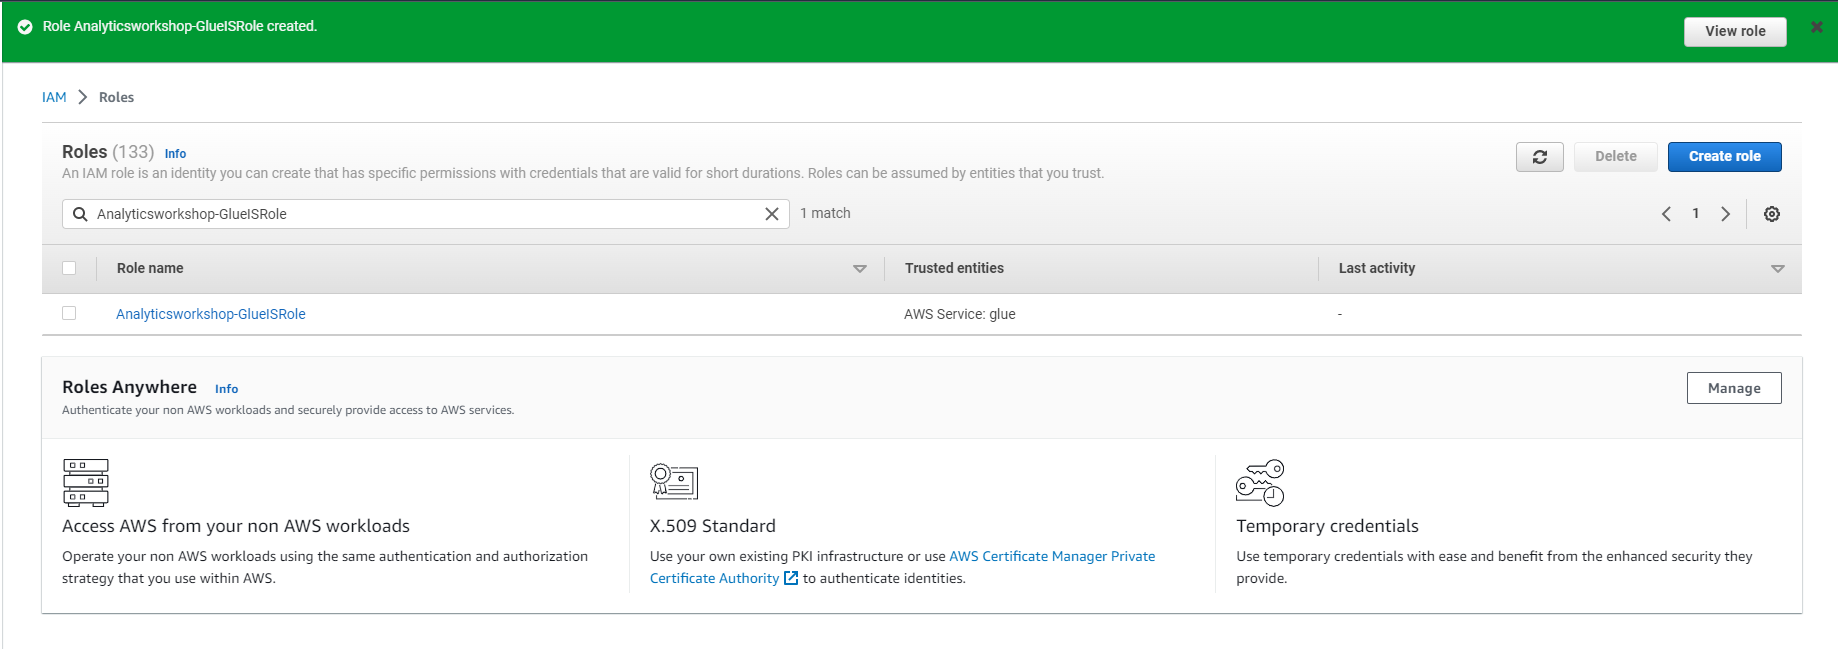
- Select Create role
Using Jupyter Notebook in AWS Glue for Interactive ETL Development
- In this step, you will create an AWS Glue job with Jupyter Notebook to interactively develop Glue ETL scripts using PySpark.
- Download and save the file: analytics-workshop-glueis-notebook.ipynb or Github
- Go to: Glue Studio Jobs
- Select Jupyter Notebook option
- Select Upload and edit an existing notebook
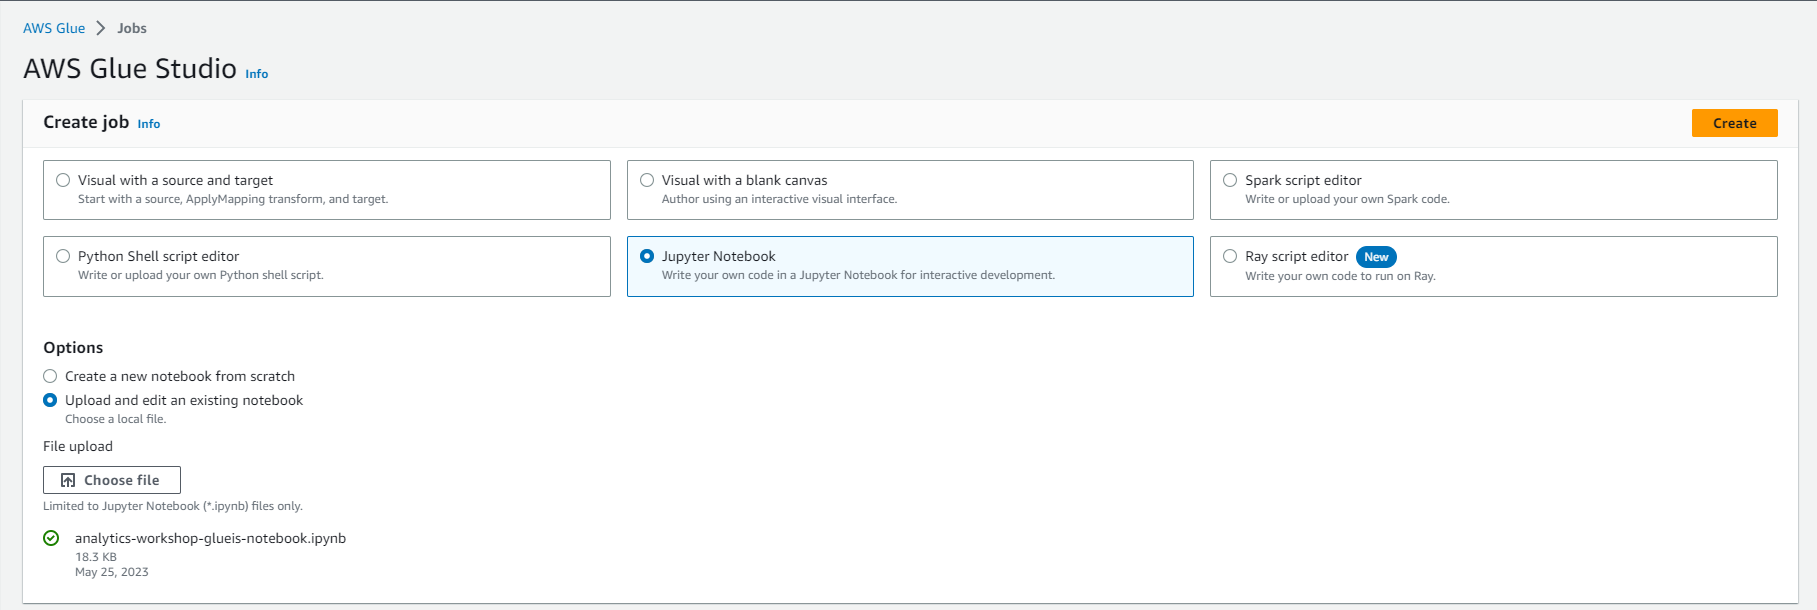
- Select Choose file
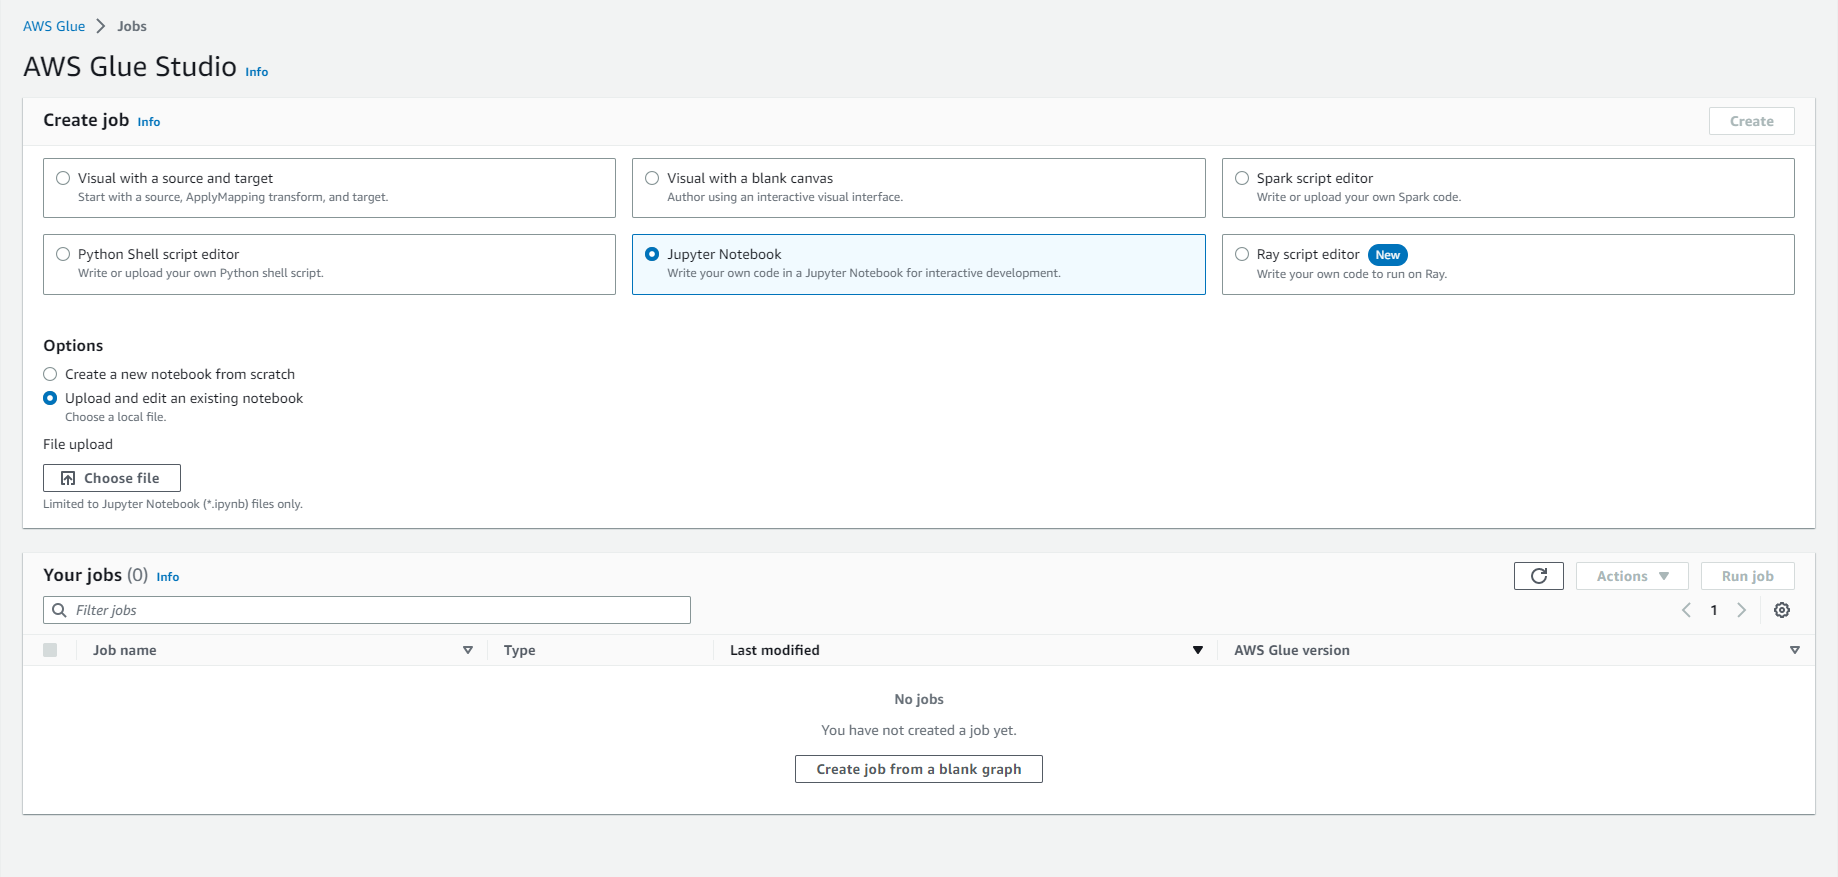
- Browse and upload analytics-workshop-glueis-notebook.ipynb that you downloaded earlier
- Select Create
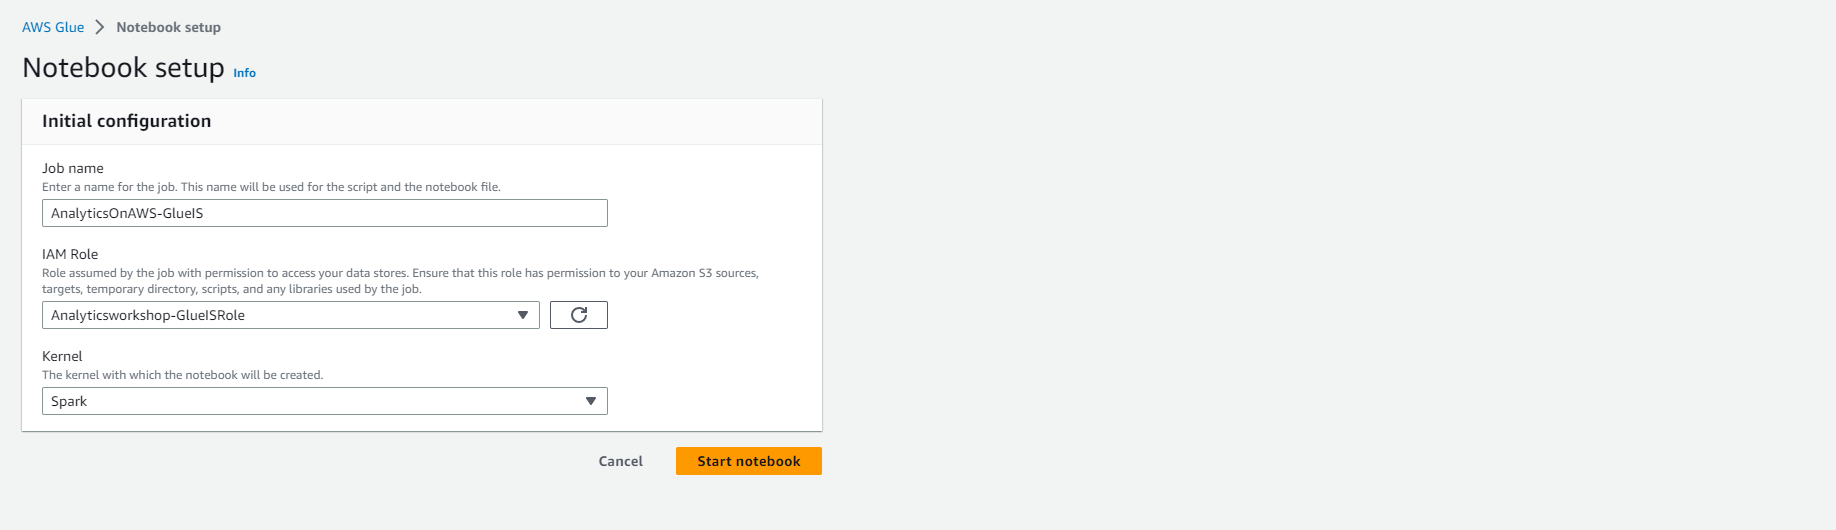
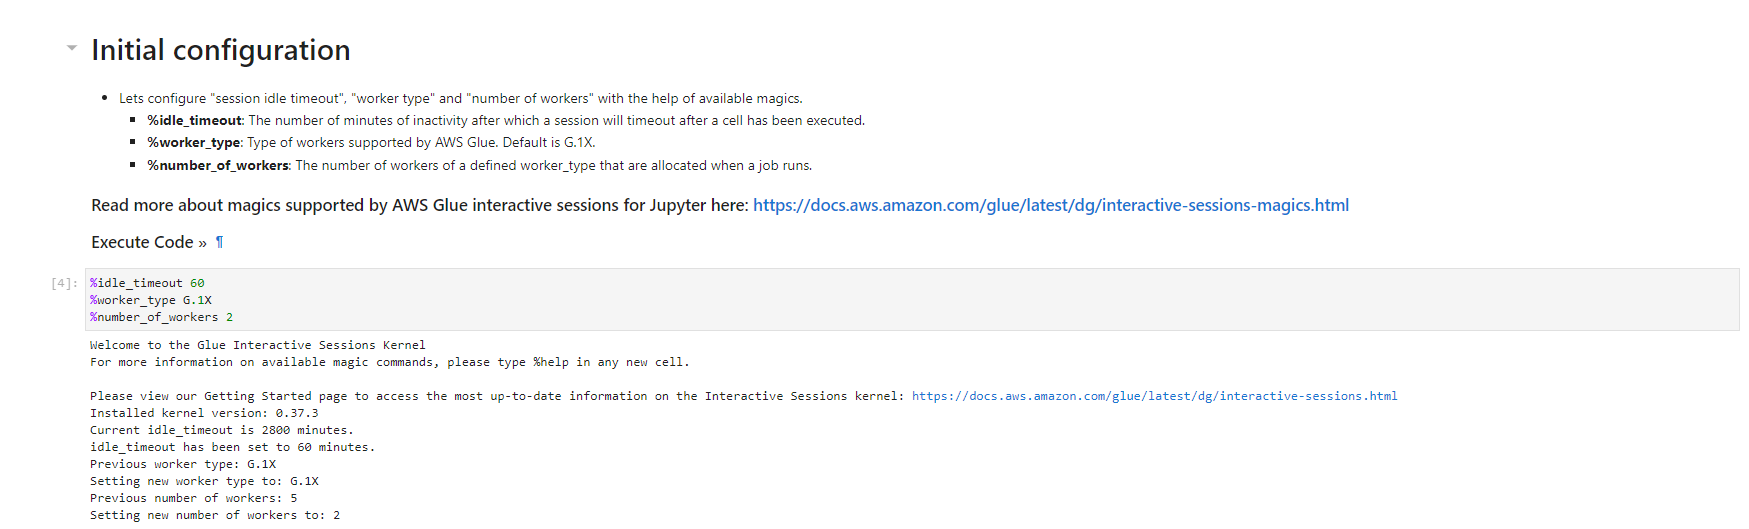
- Under Notebook setup and Initial configuration
- Job name: AnalyticsOnAWS-GlueIS
- IAM role Analyticsworkshop-GlueISRole
- Leave Kernel to default as Spark
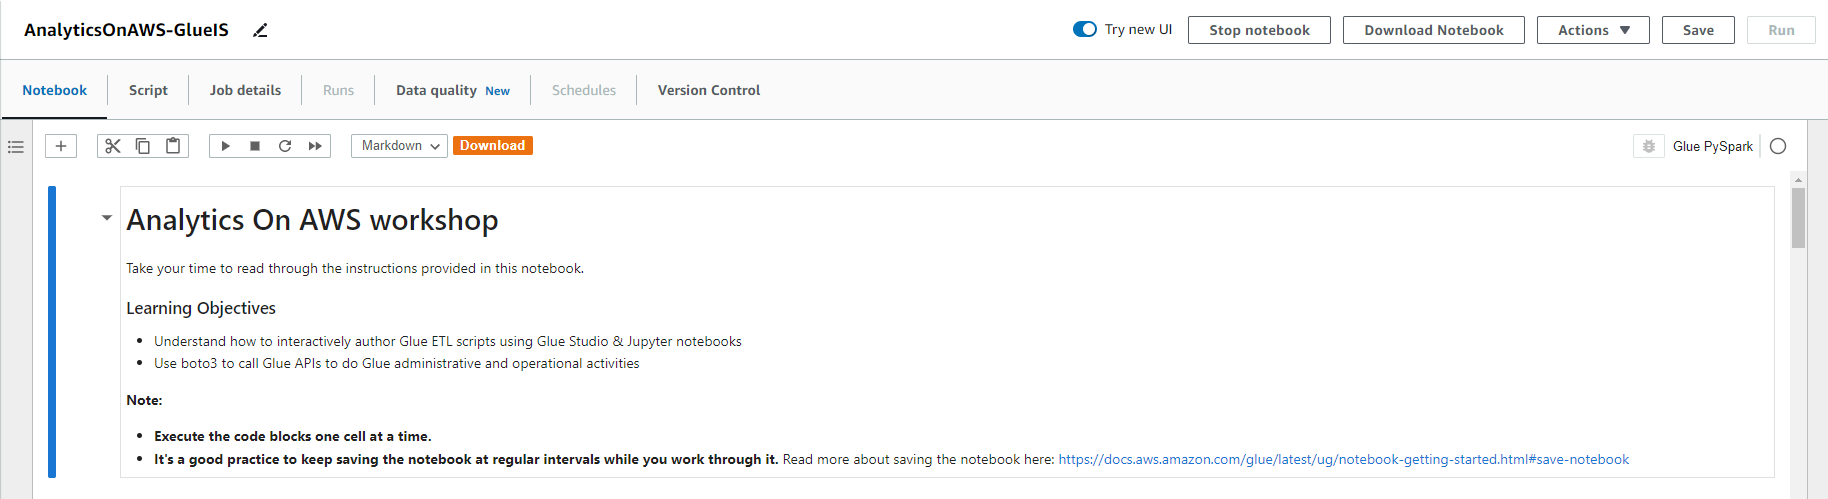
- Click Start notebook
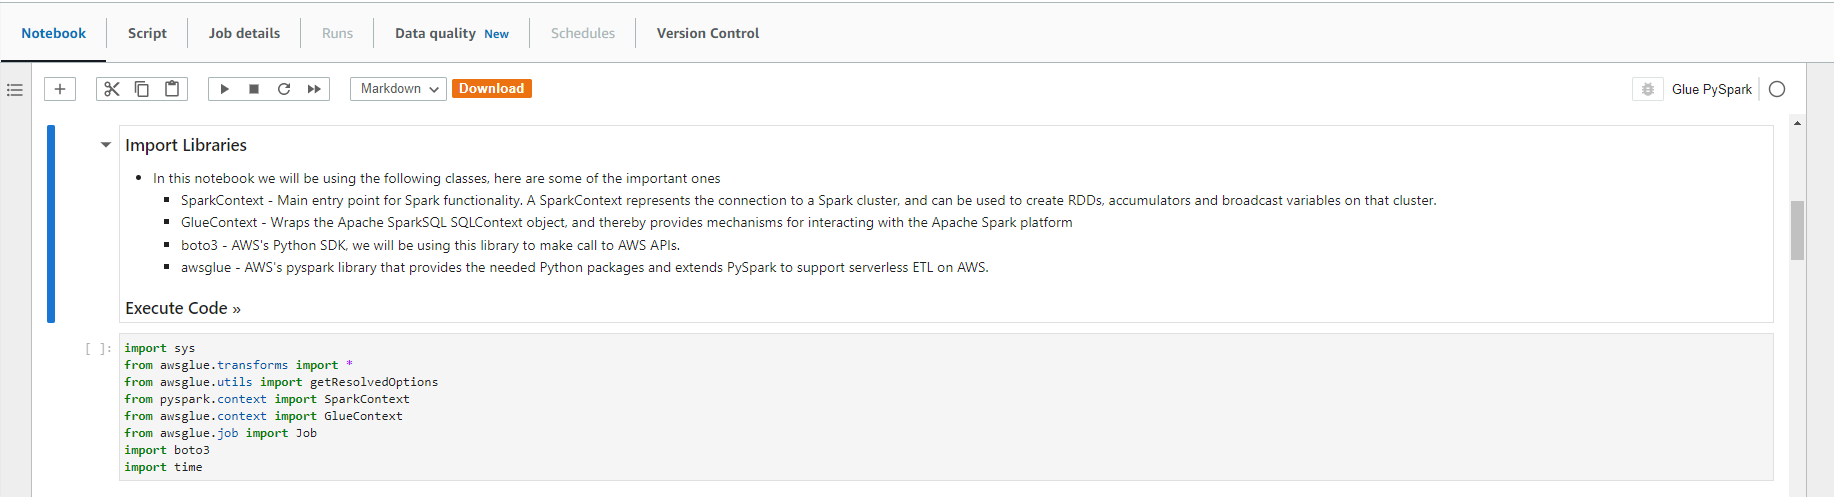
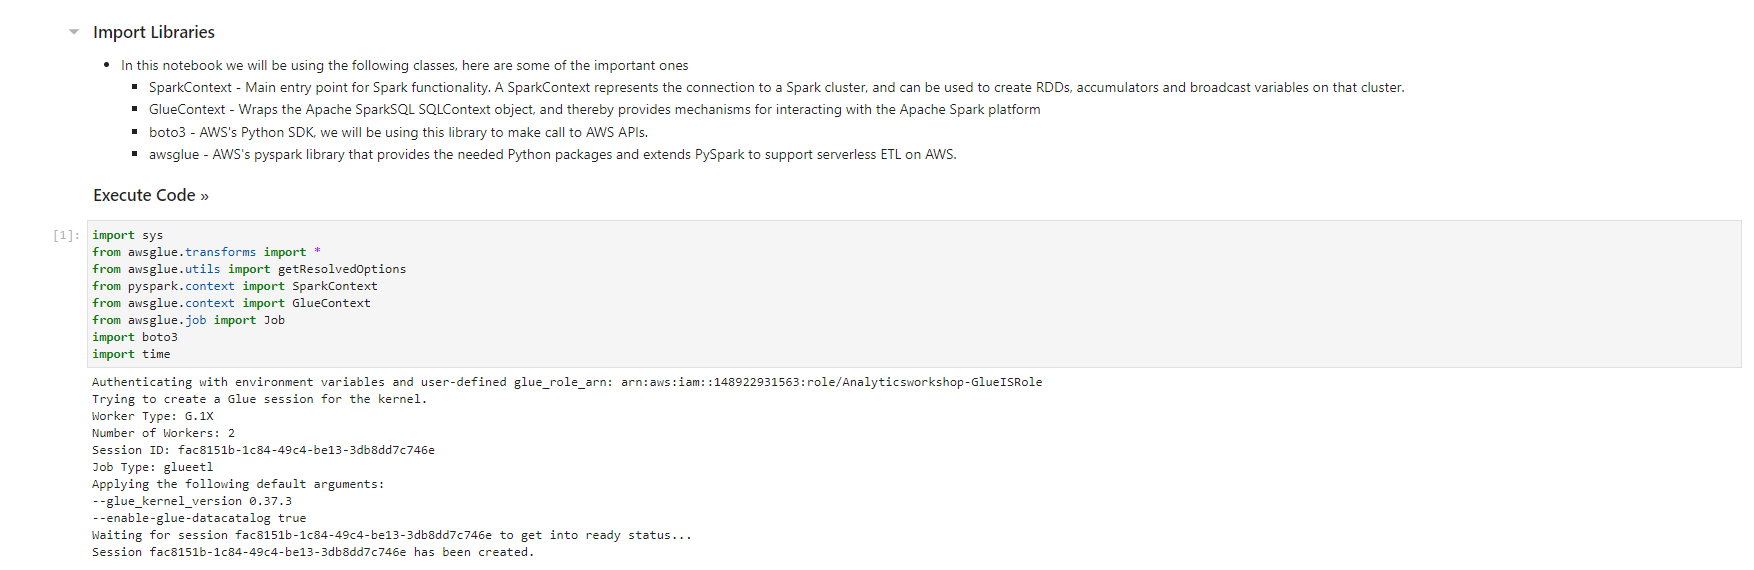
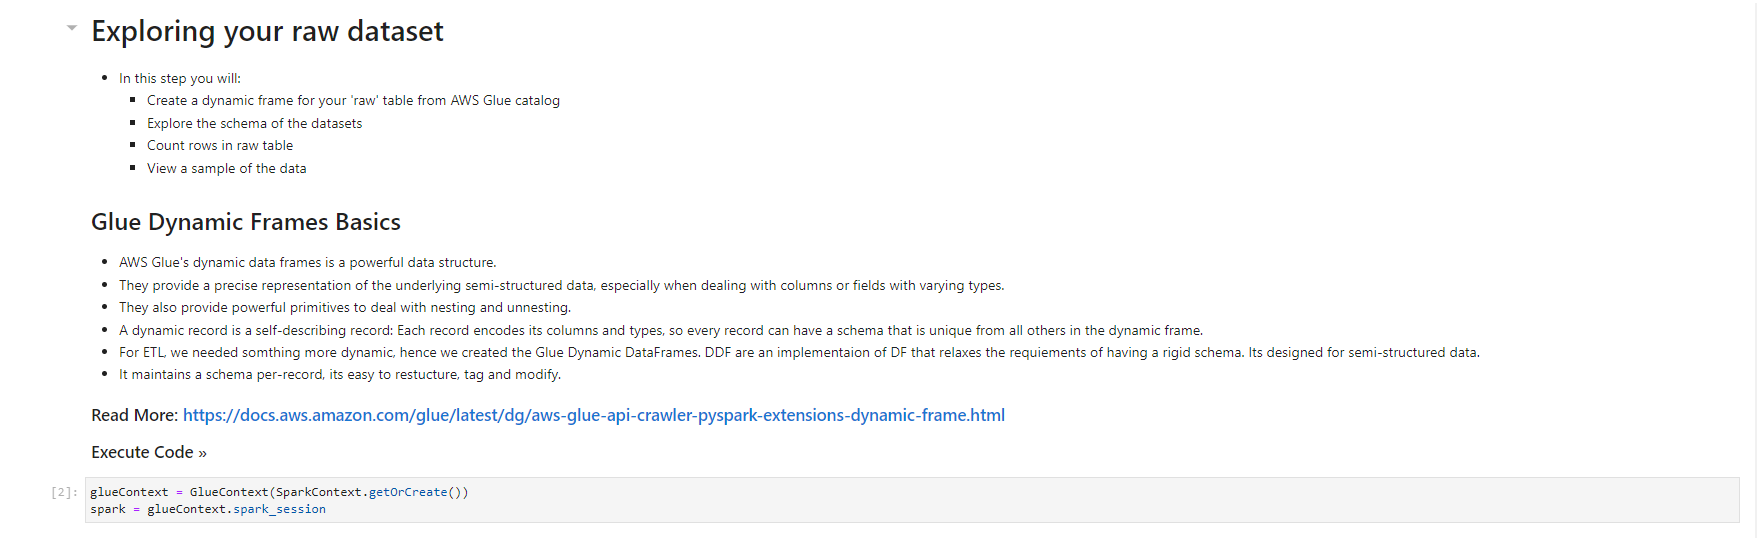
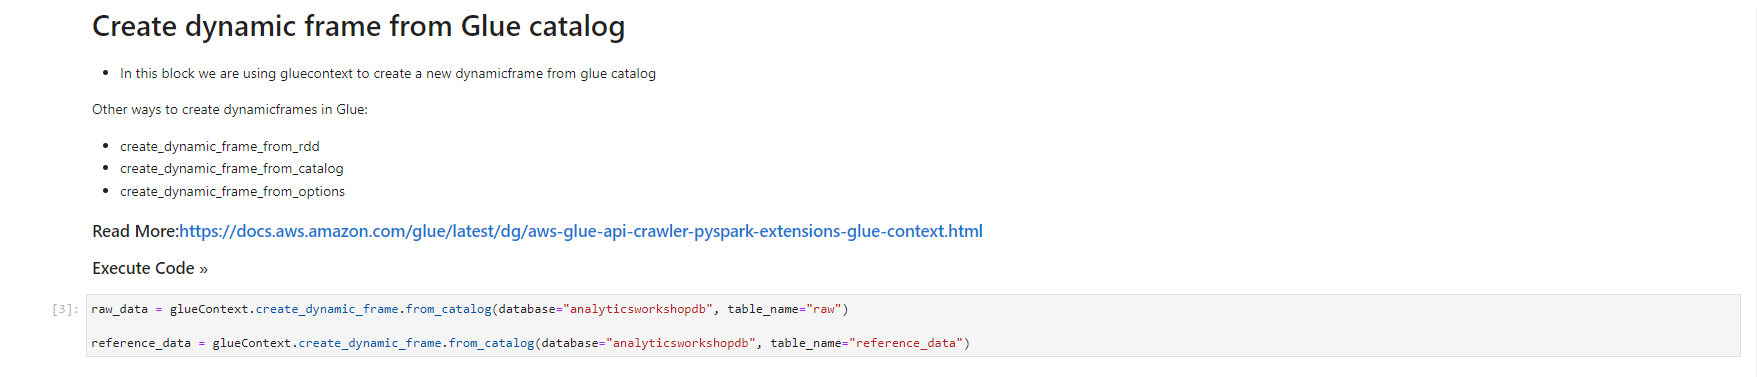
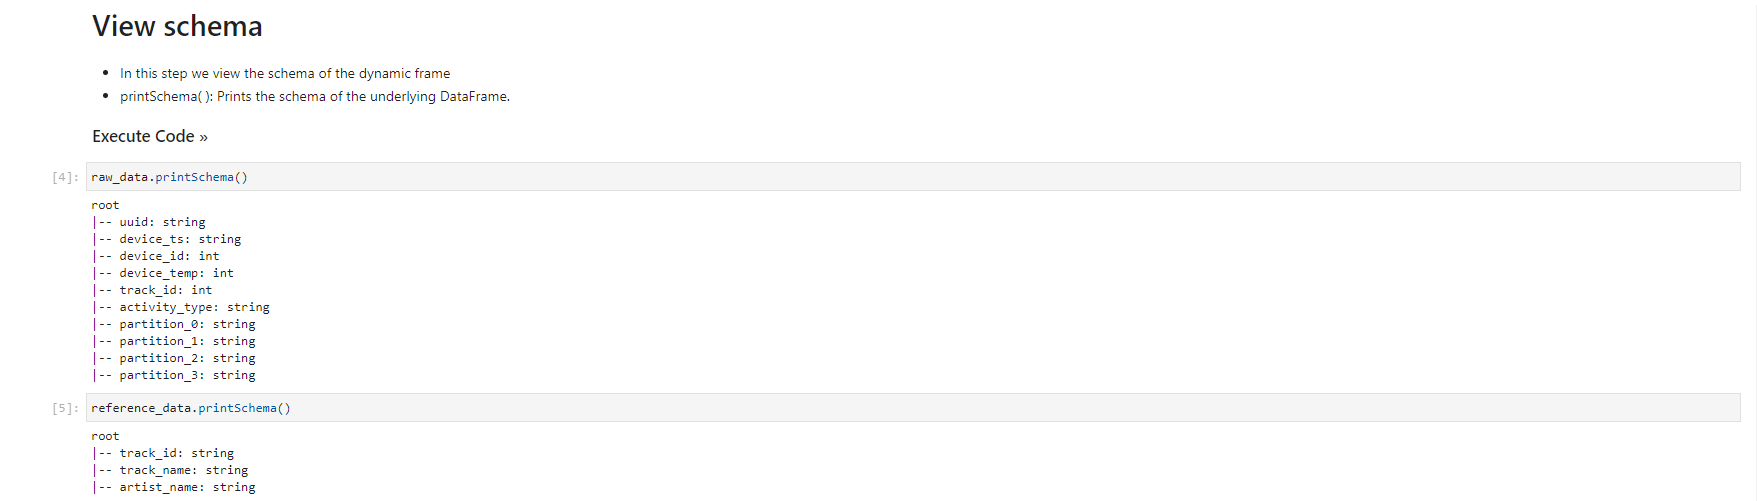
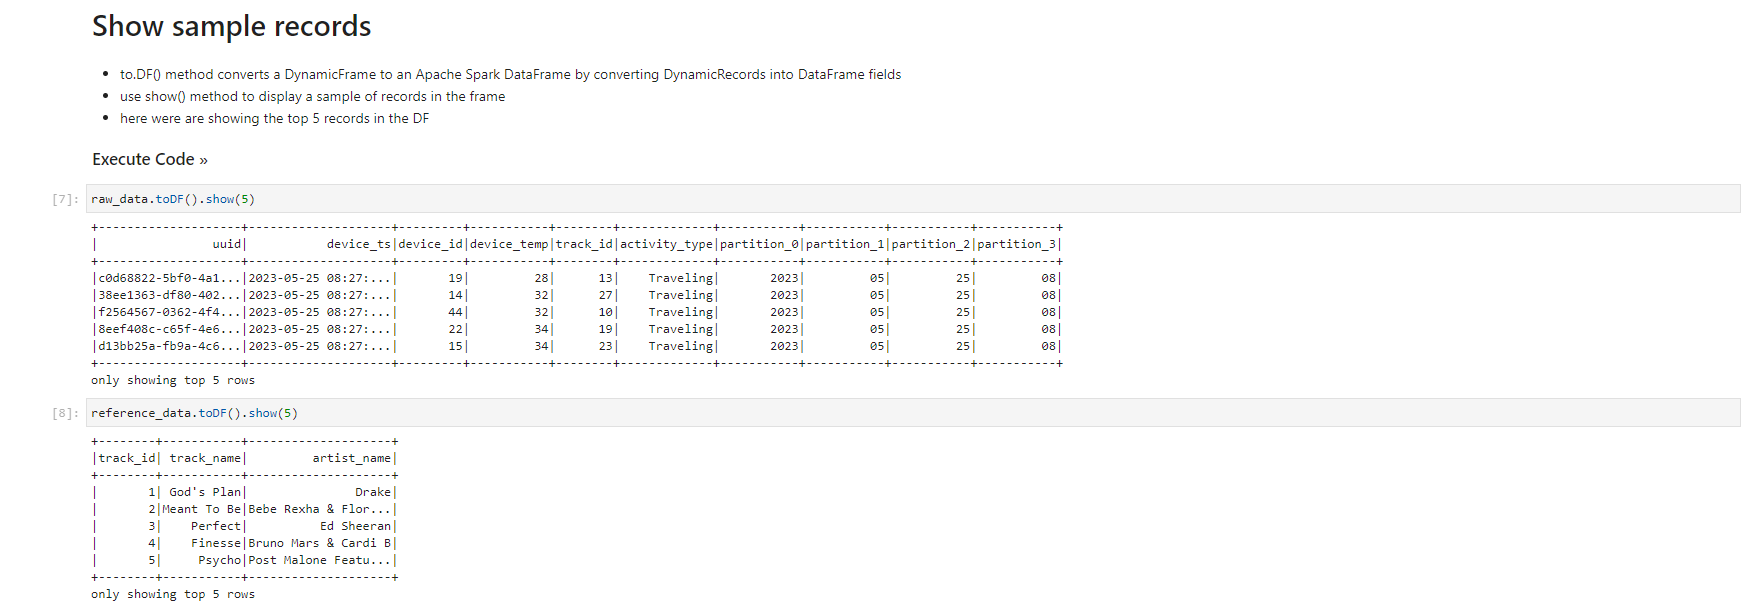
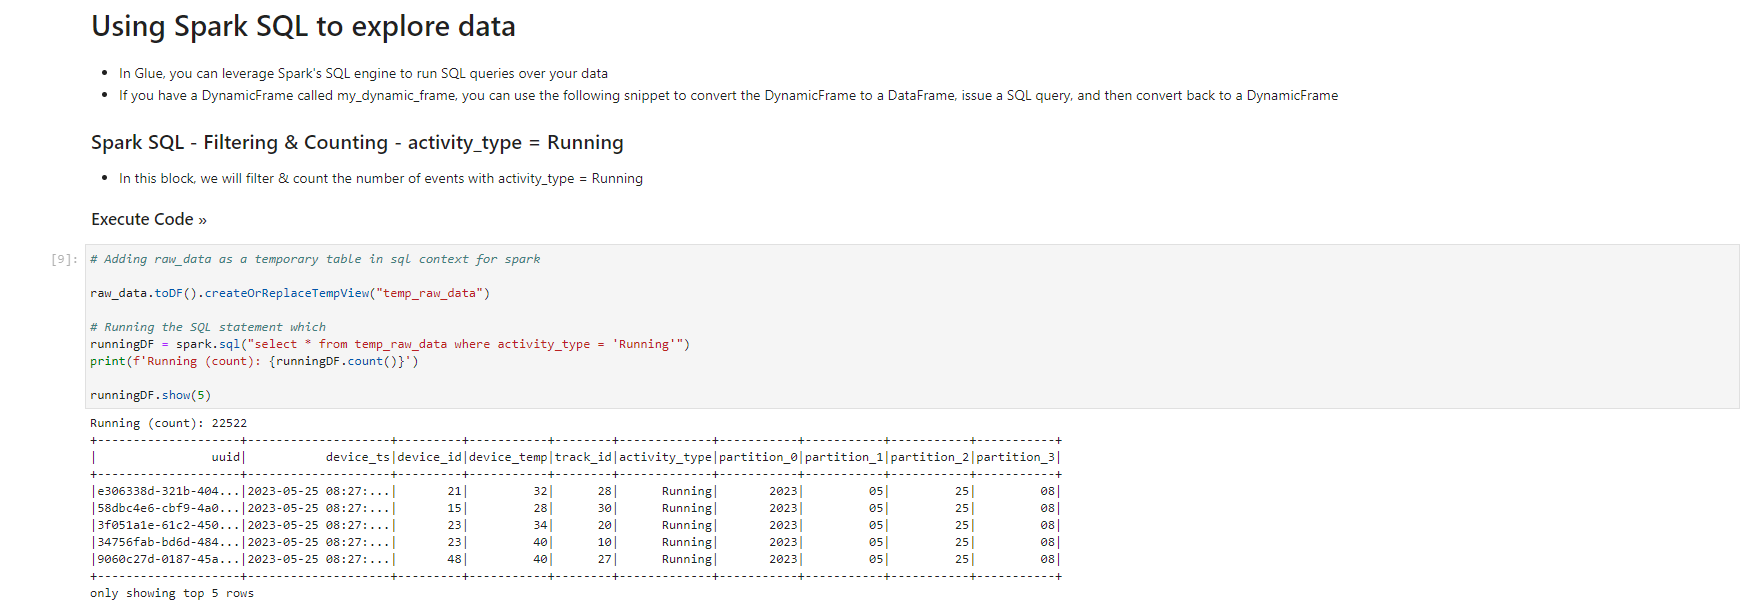
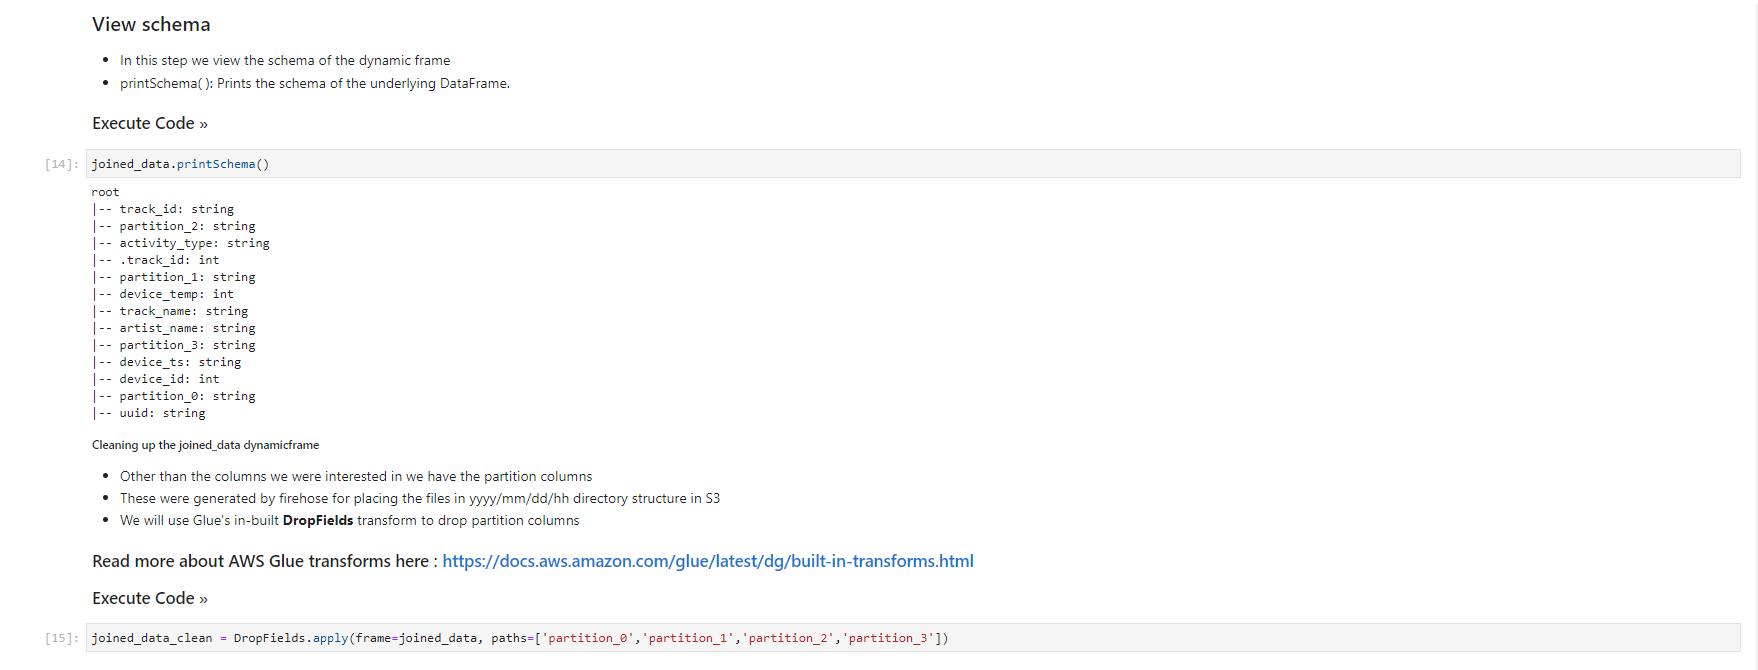
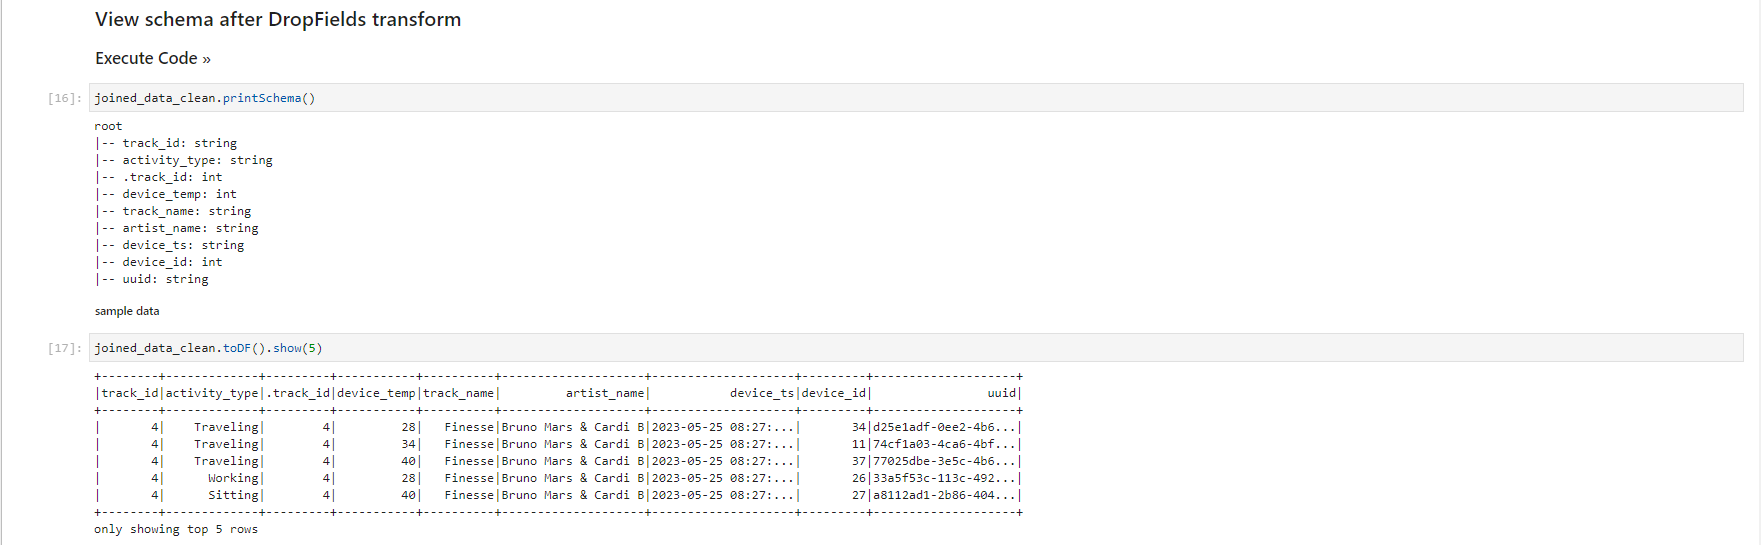
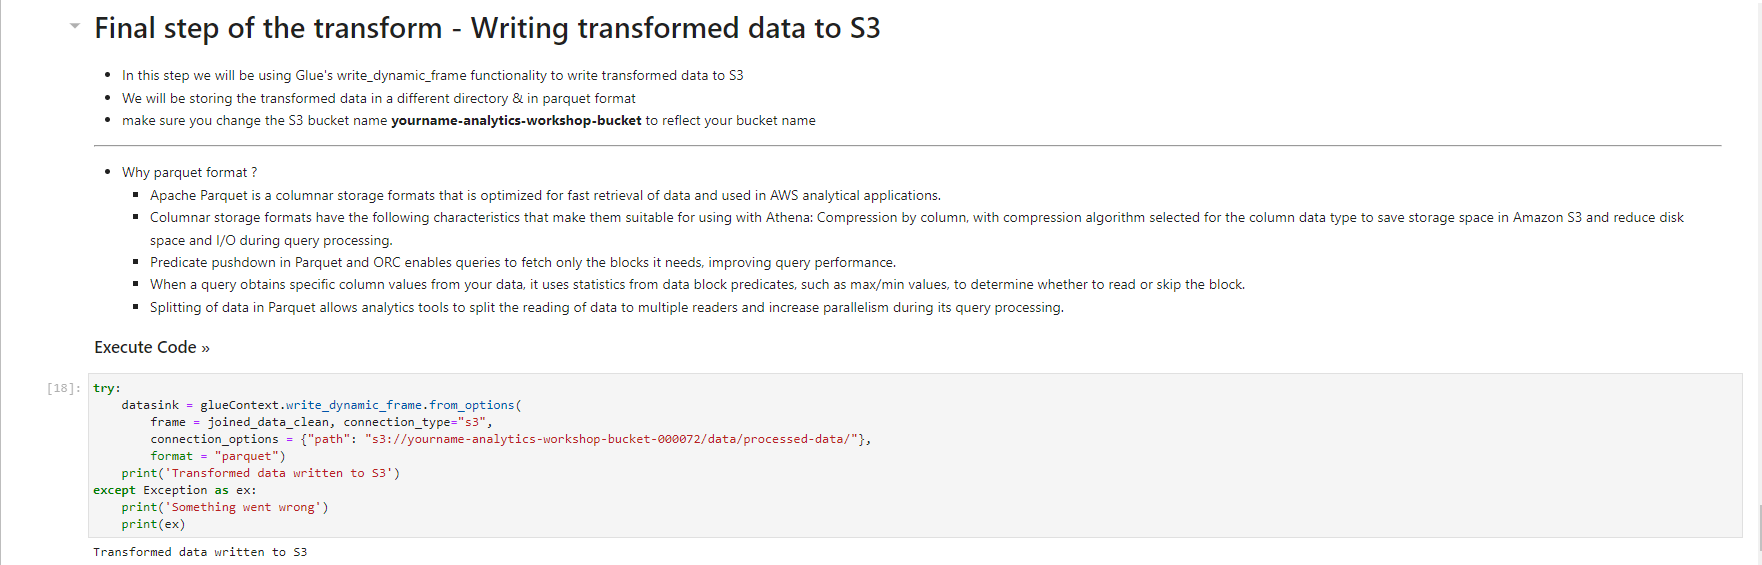
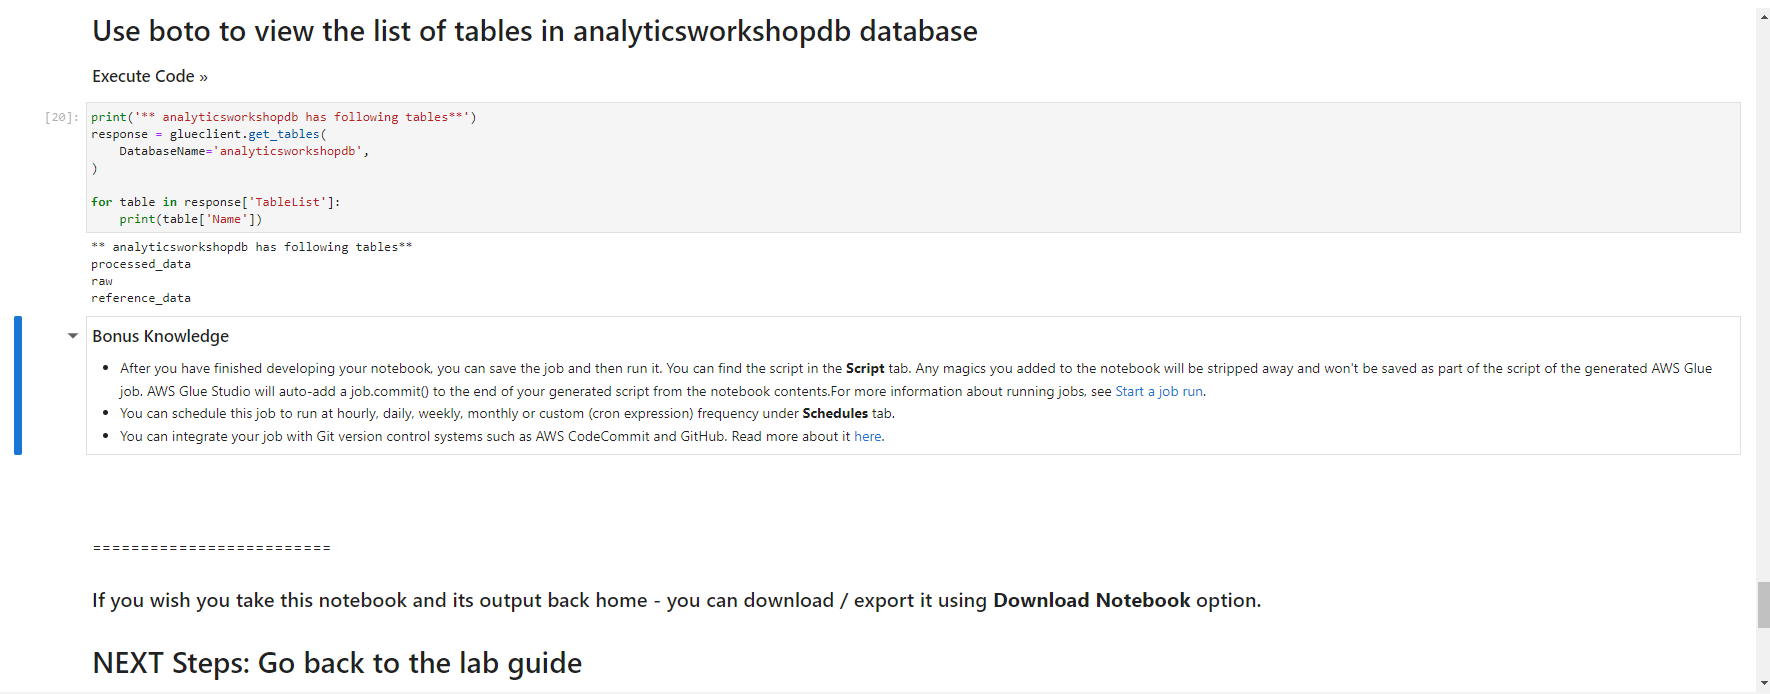
- When the notebook is initialized, follow the instructions in the notebook. You observe and run the notebook according to the picture.


Validated data - converted/processed and arrived in S3
- Select - yourname-analytics-workshop-bucket > data
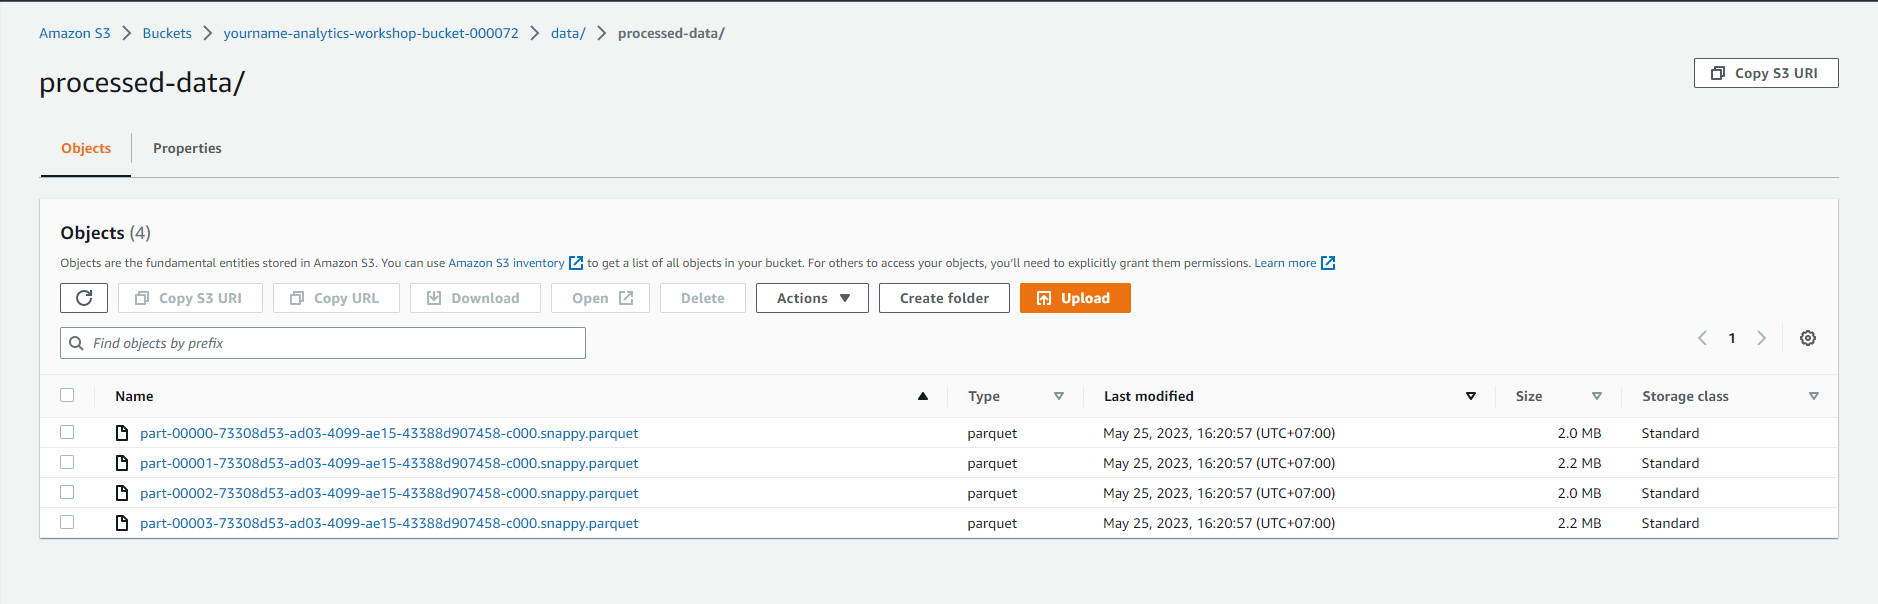
- Open the processed-data folder:
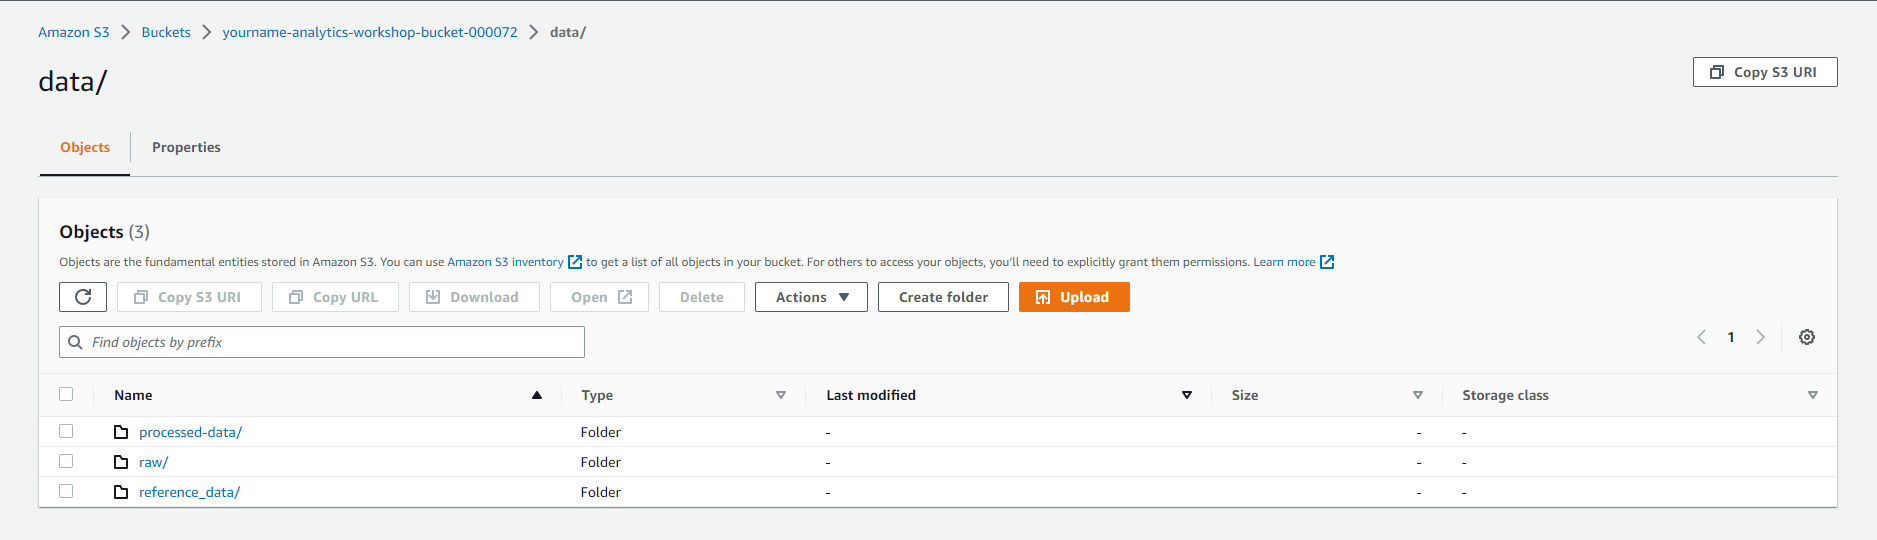
- Make sure that the .parquet files have been created in this folder.
- Now that we have transformed the data, we can query the data using Amazon Athena. We can also continue to transform/aggregate data using AWS Glue or Amazon EMR.
The Next module on EMR is optional. You can skip it if you want and continue analyzing with Athena.