Creating AWS Glue Crawlers
Create AWS Glue Crawlers
In this step, we will navigate to the AWS Glue Console and create glue crawlers to explore the schema of newly imported data in S3.
- Go to: Select here
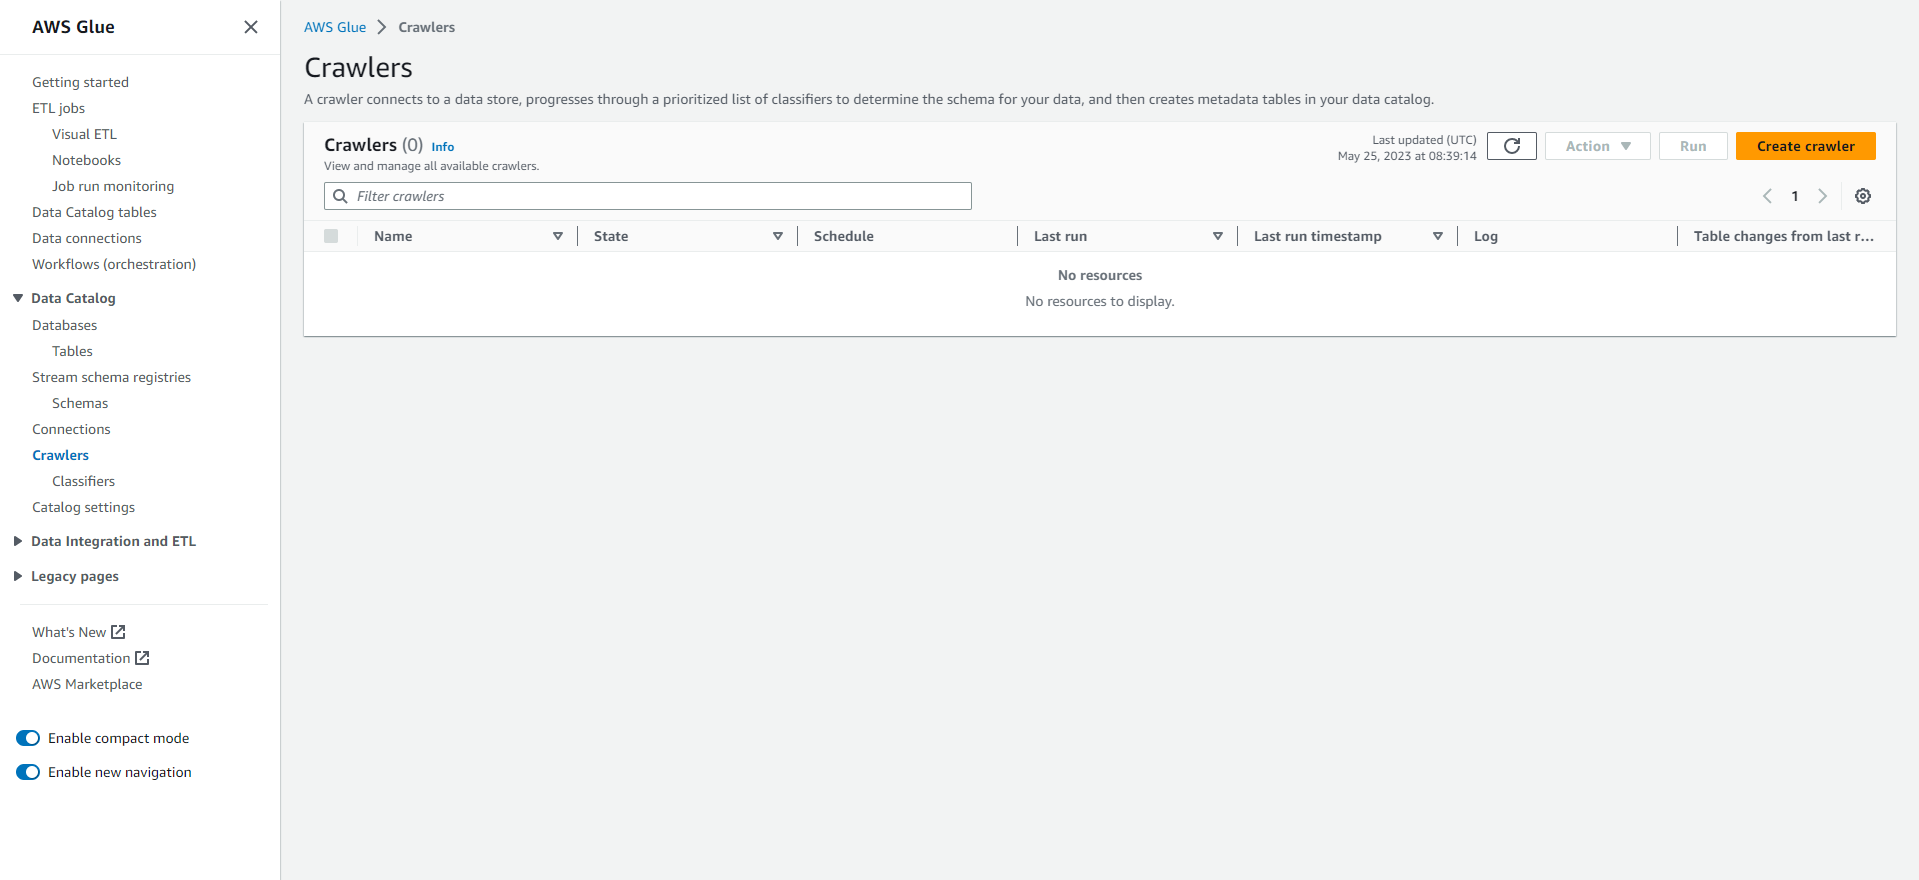
- On the left panel, Select Crawlers
- Select Create crawler
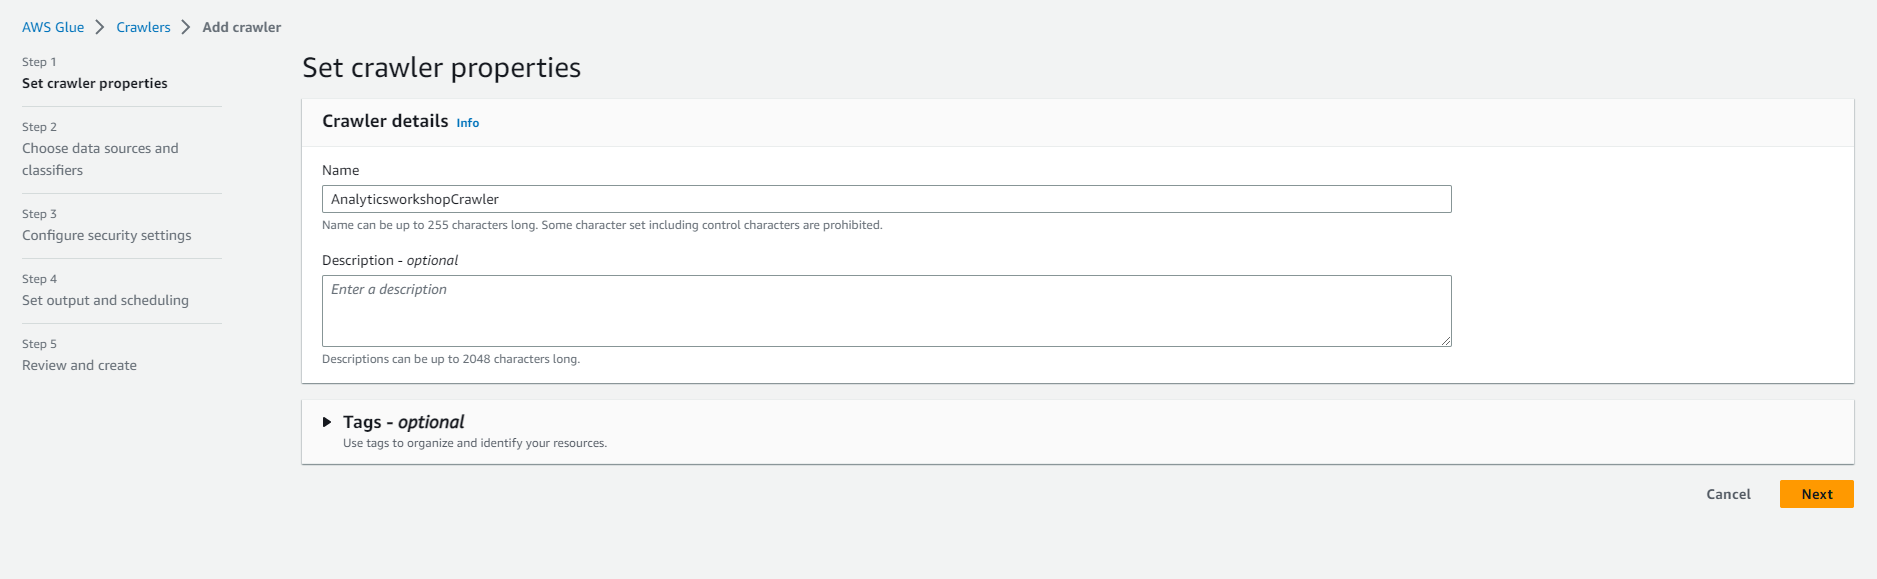
- Information about crawler
- Crawler name: AnalyticsworkshopCrawler
- Option to add Tags (labels), for example: workshop: AnalyticsOnAWS
- Select Next
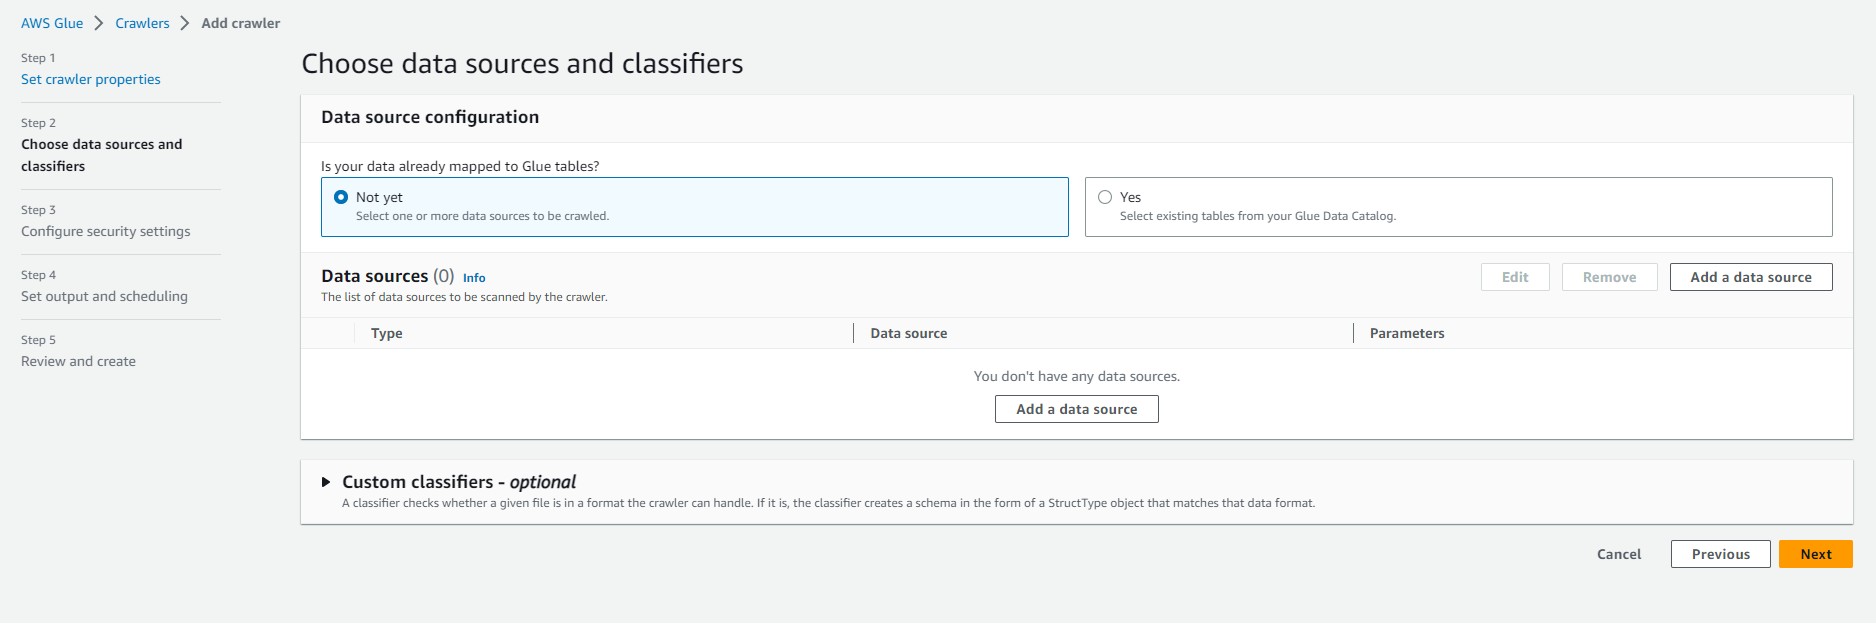
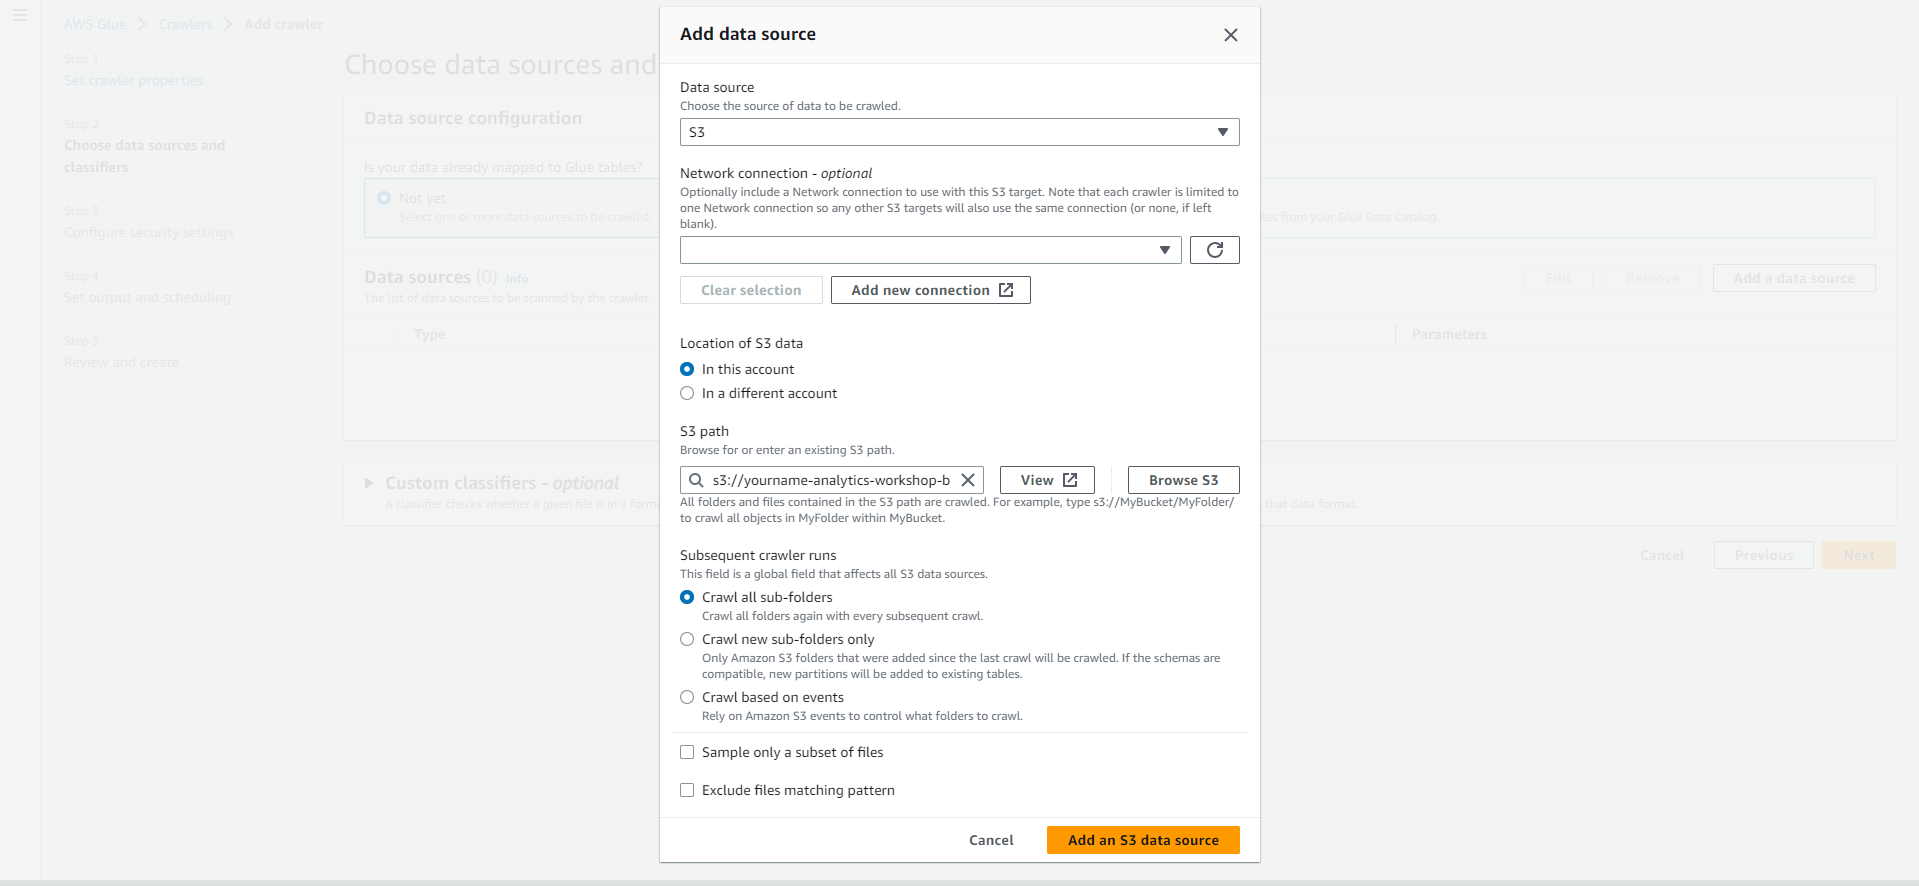
- Select Add a data source. Select a data source.
-
- Data source: S3
- Let the network connect - options as is
- Select In this account (in this account) in the Location of S3 data section.
- Include S3 path: s3://yourname-analytics-workshop-bucket/data/
- Leave Subsequent crawler runs at default Crawl all sub-folders (Crawl all subfolders)
- Select Add an S3 data source
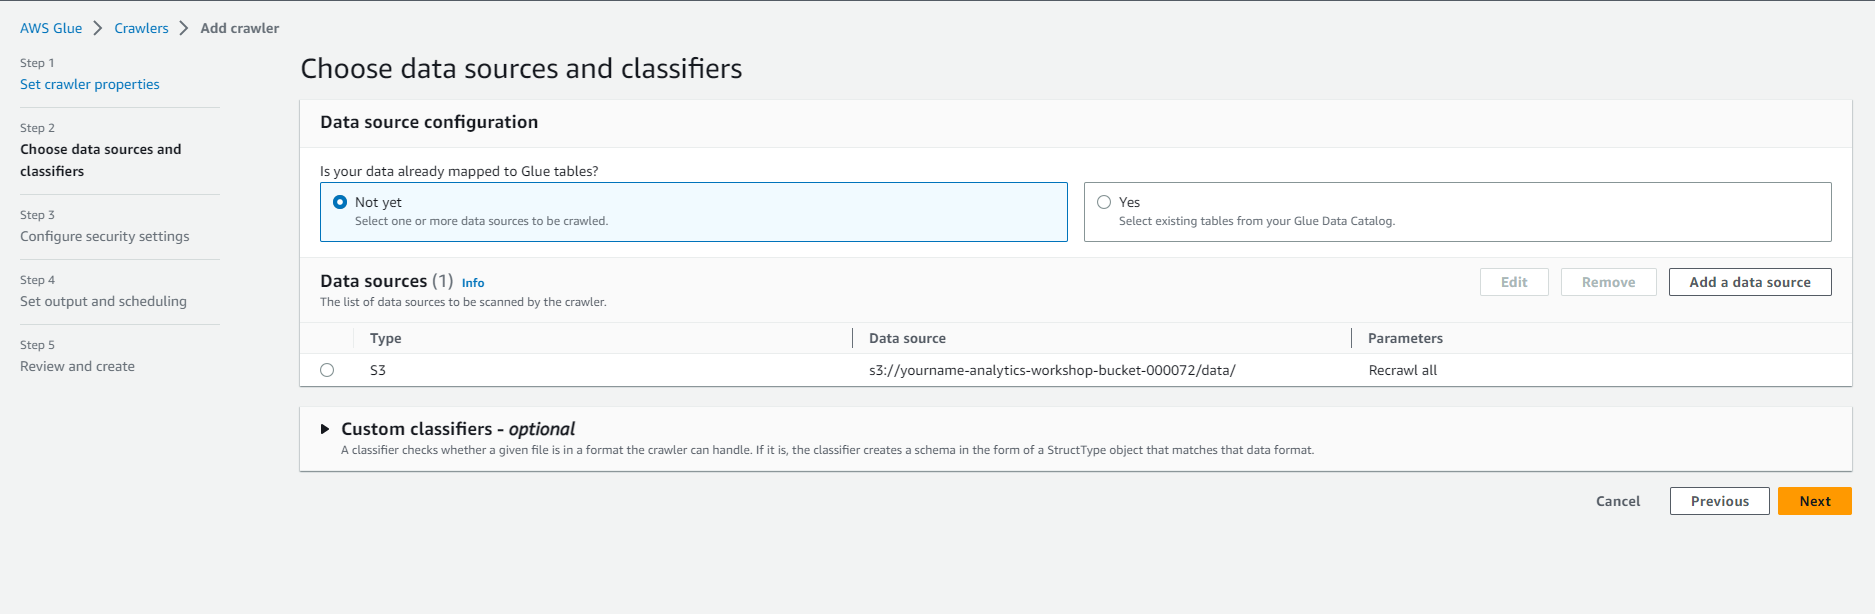
- Select the recently added S3 data source under Data Sources. Select Next
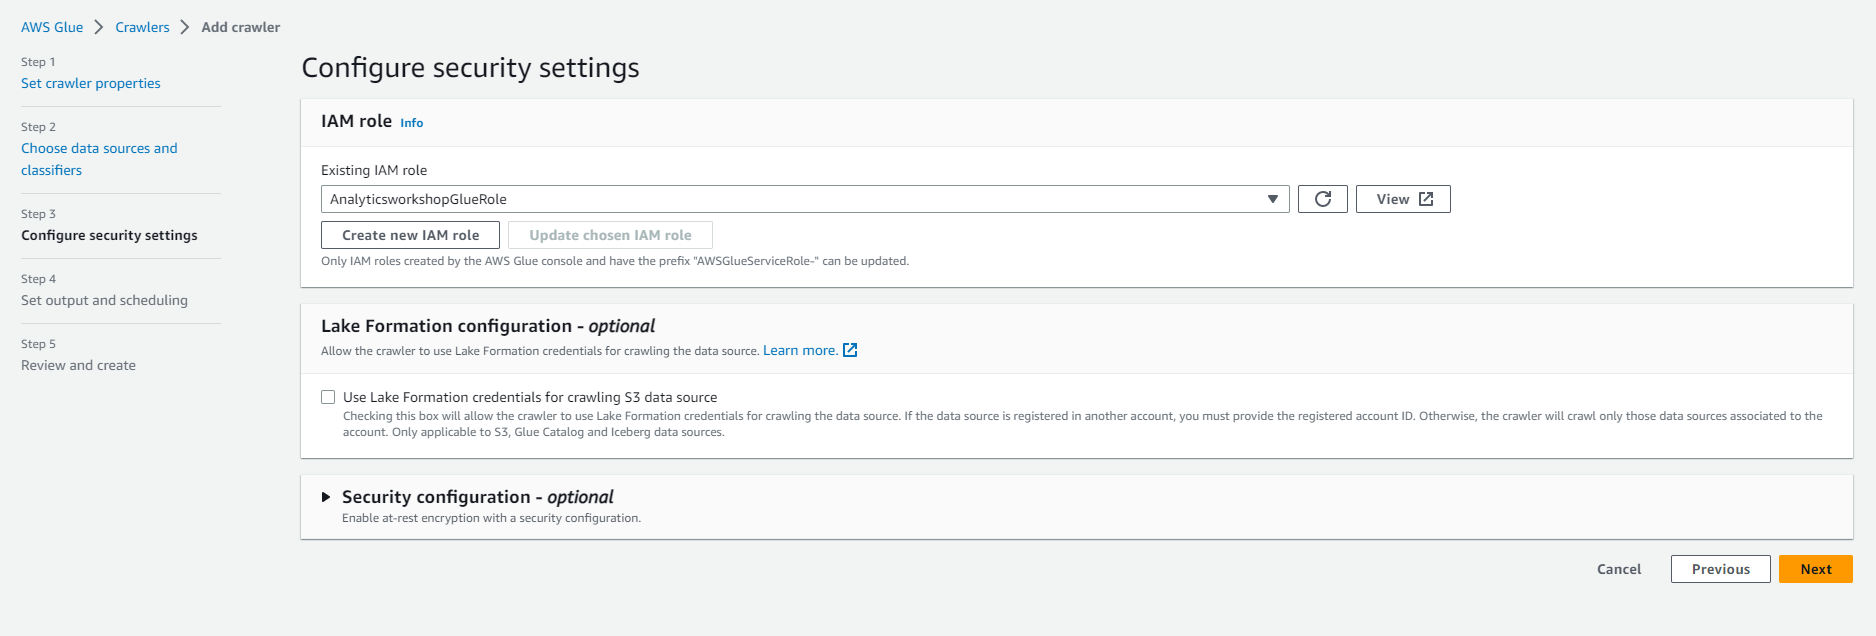
- IAM Role (IAM role)
- Under Existing IAM role (existing IAM role), select AnalyticsworkshopGlueRole
- Leave everything else as it is.
- Select Next
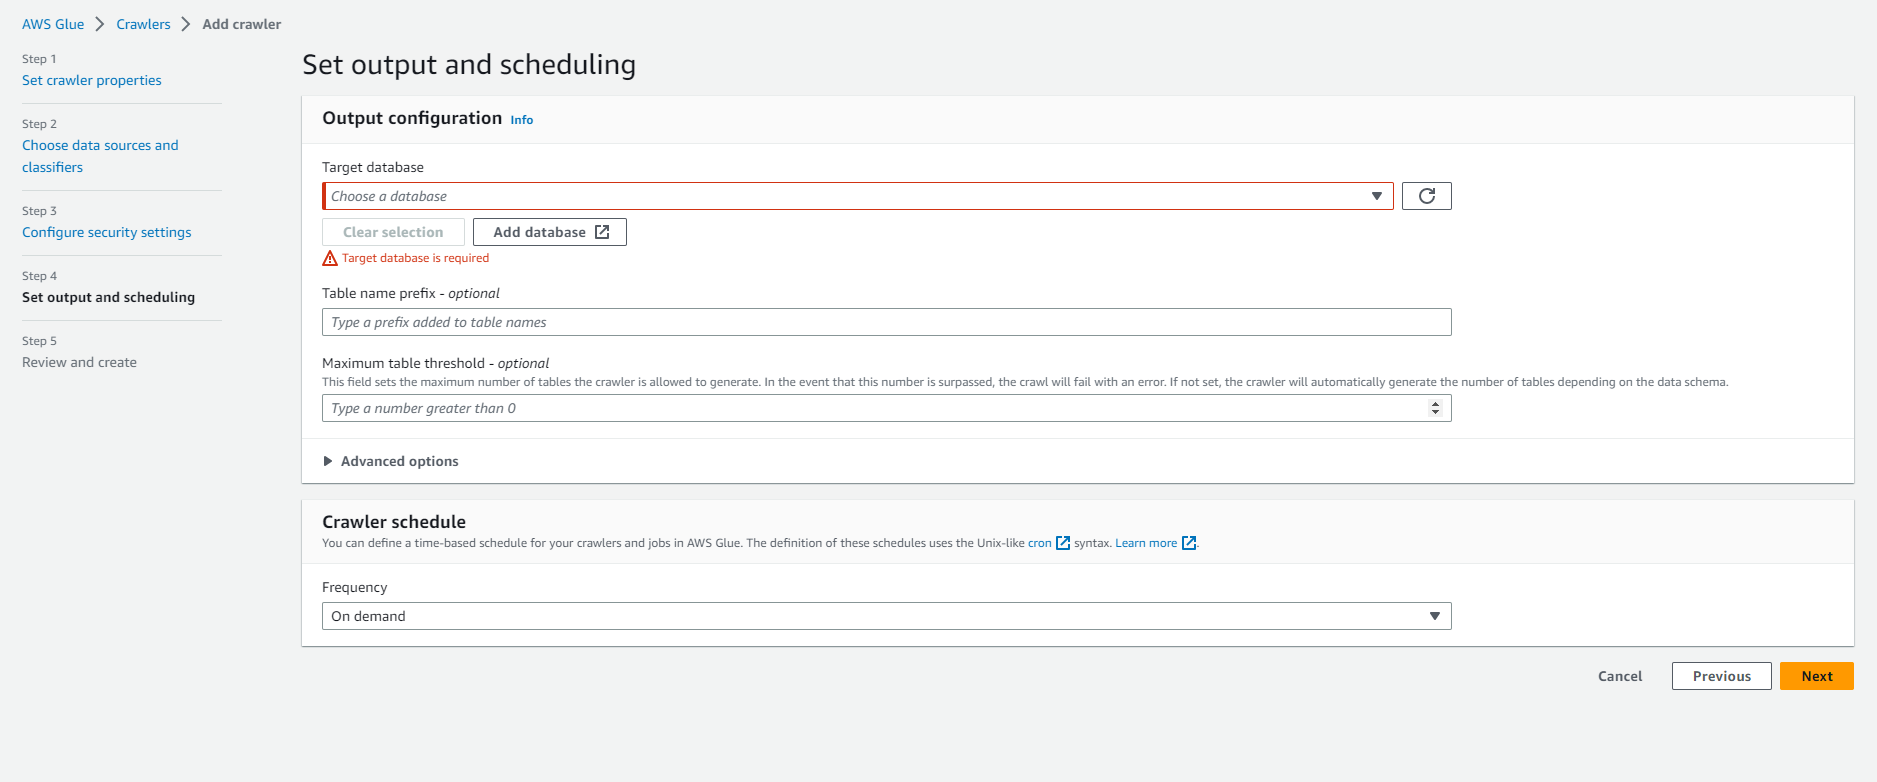
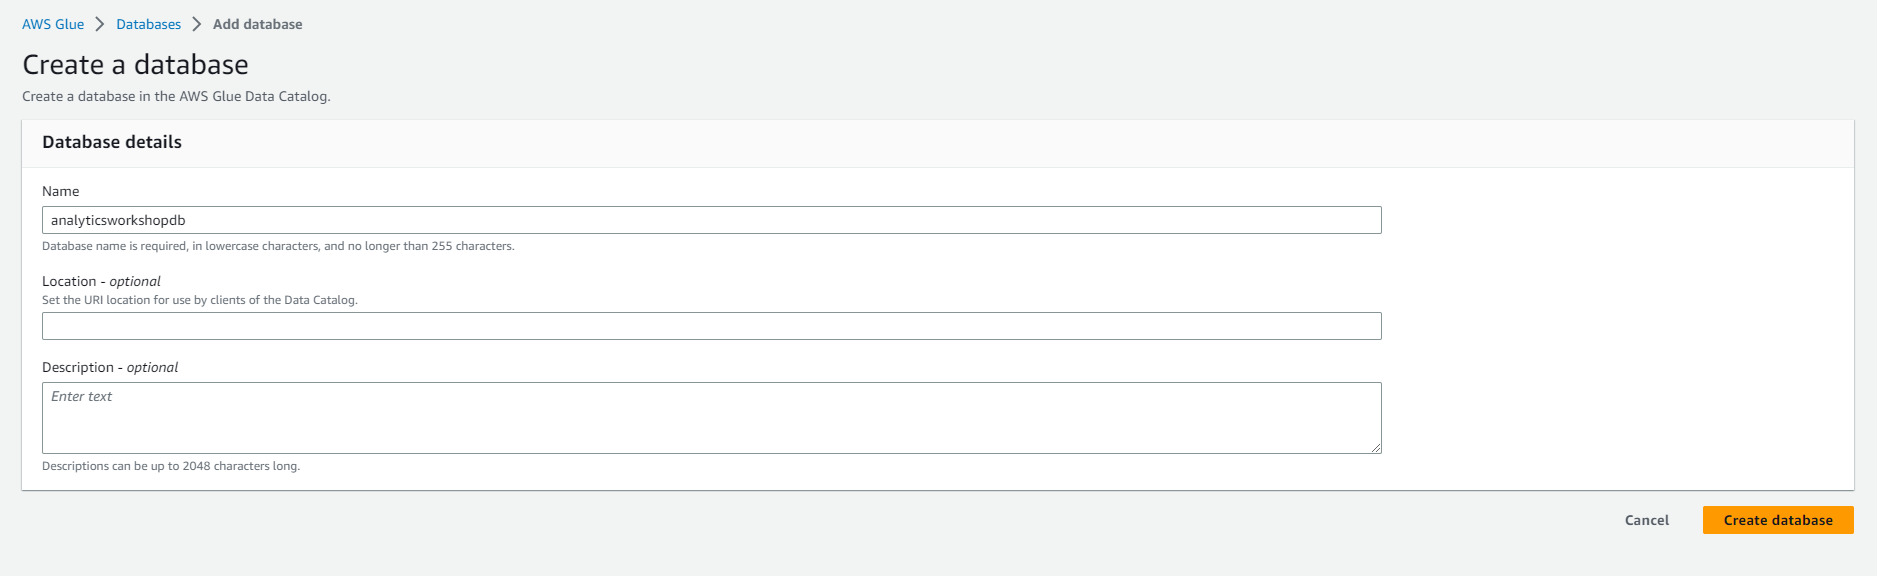
- Output configuration: Select Add database to open a new window to create a database.
- Database Information
- Name: analyticsworkshopdb
- Select Create database
- Close the current window and return to the previous window.

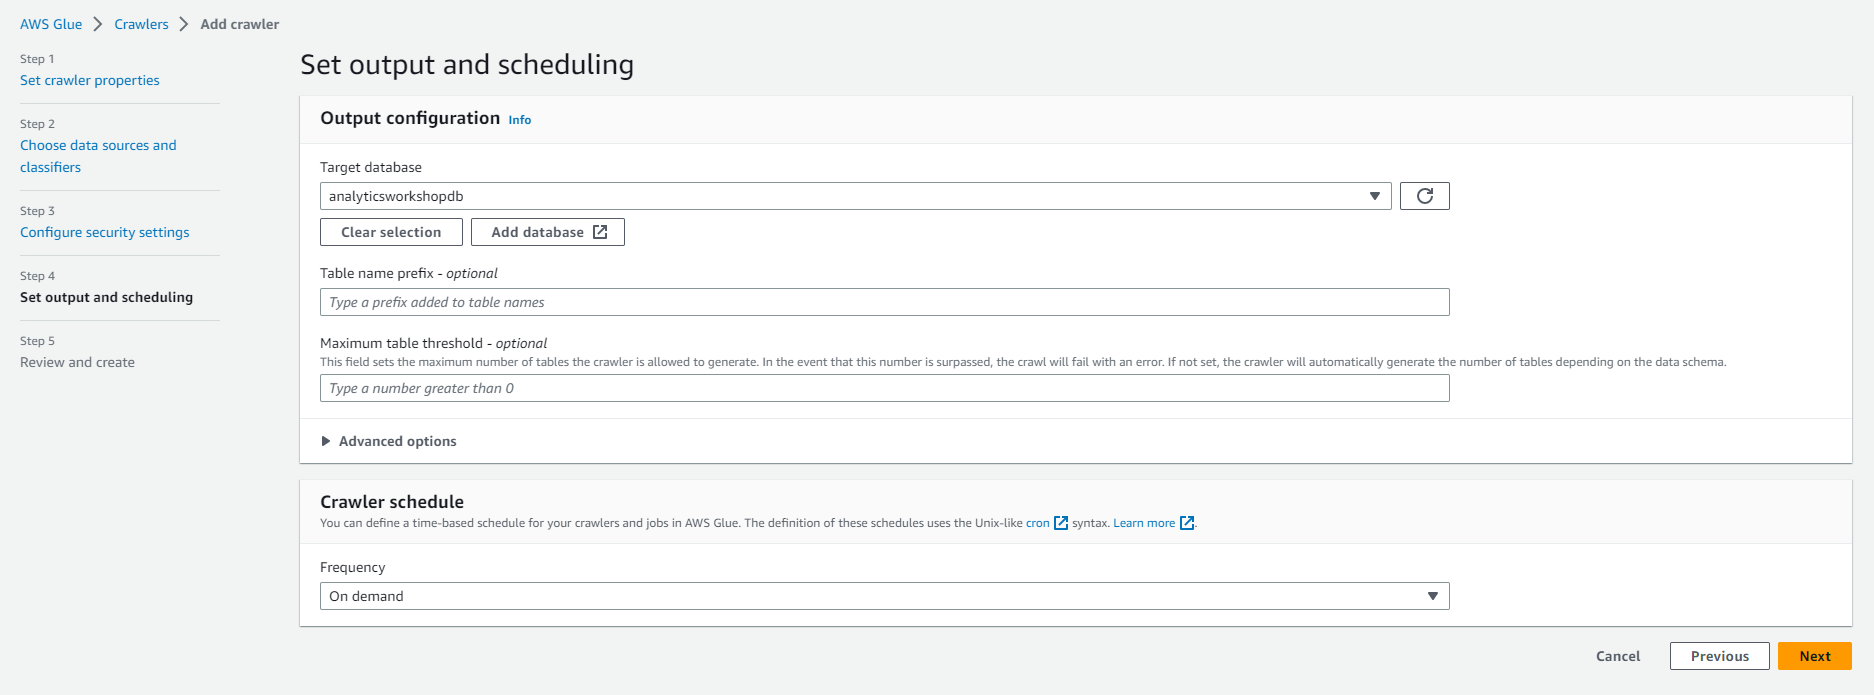
- Refresh by Clicking on the refresh icon to the right of the Target database.
- Select analyticsworkshopdb under Target database
- Under Crawler schedule (Crawler schedule)
- Frequency: On demand (On demand)
- Select Next
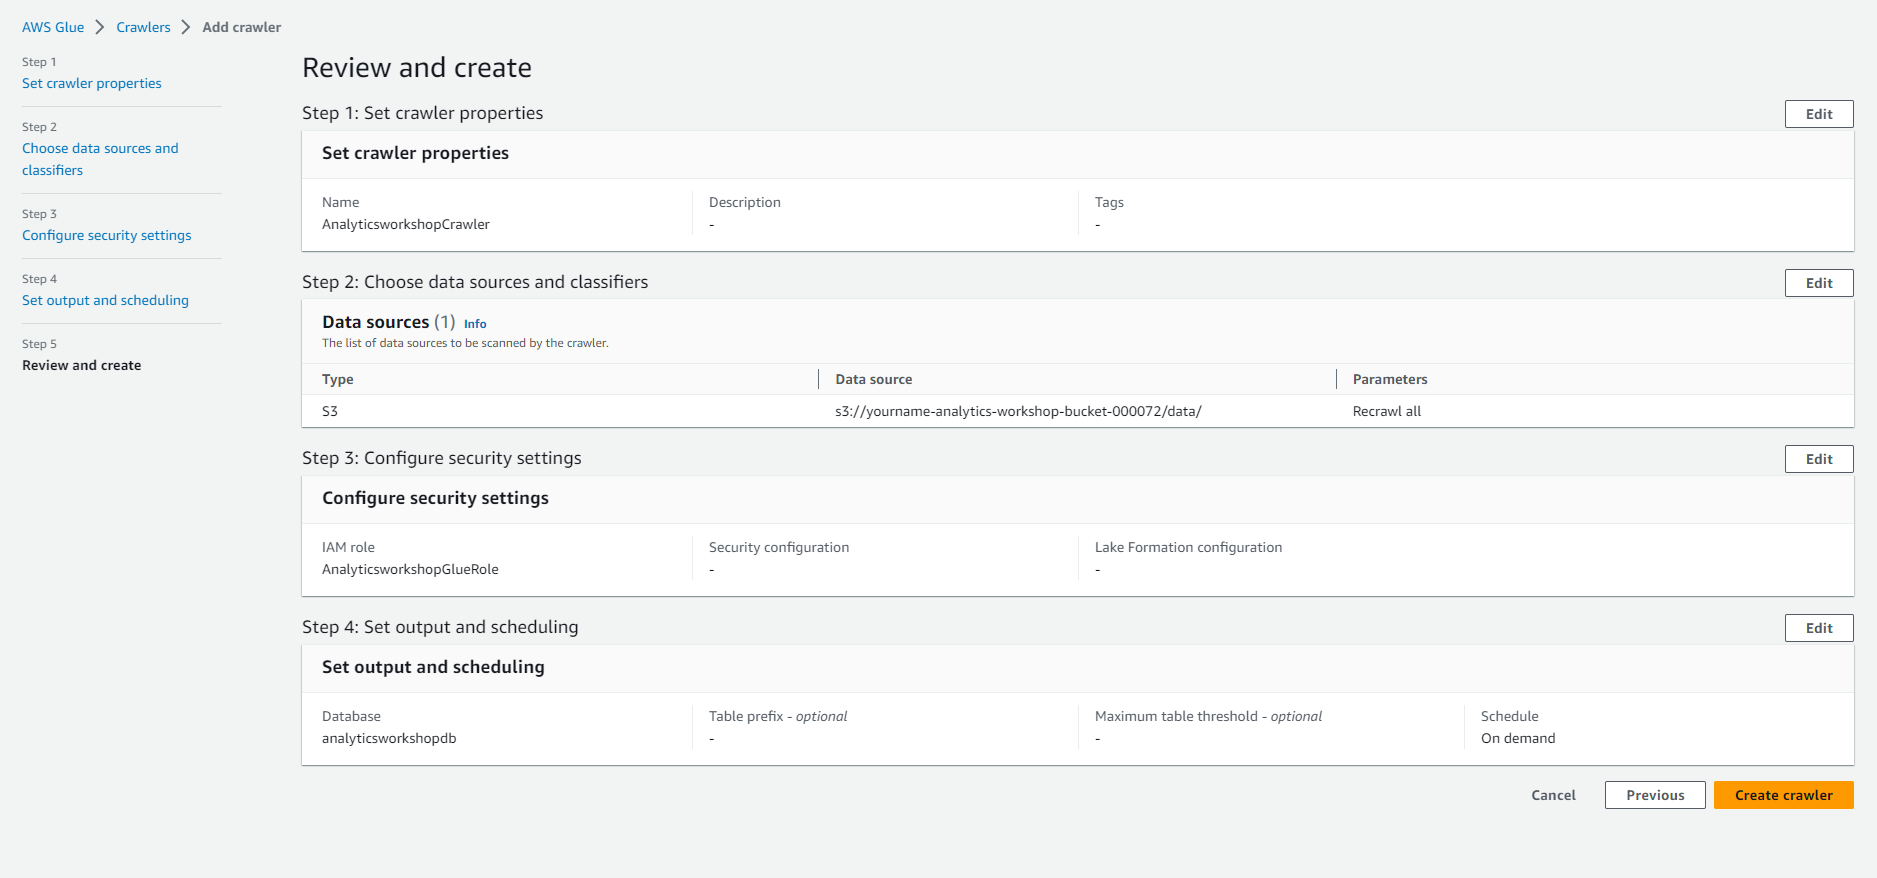
- Review all settings under Review and create. Select Create crawler
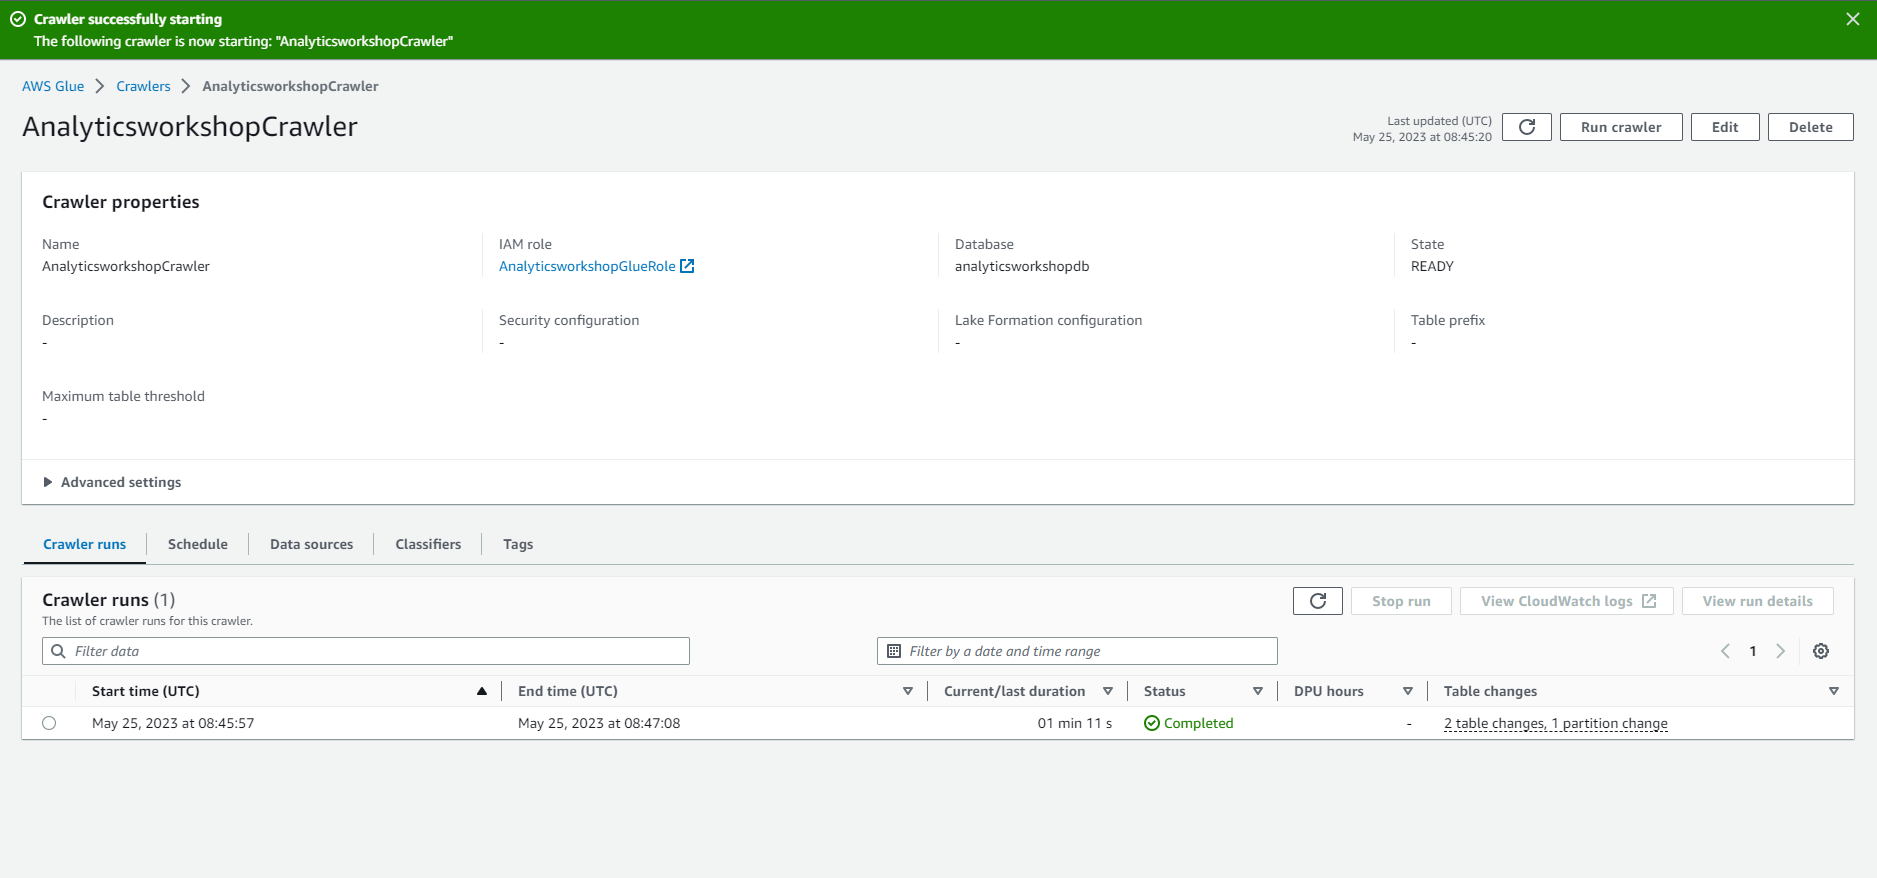
- You will see this message: The following Crawler has been created: “AnalyticsworkshopCrawler”
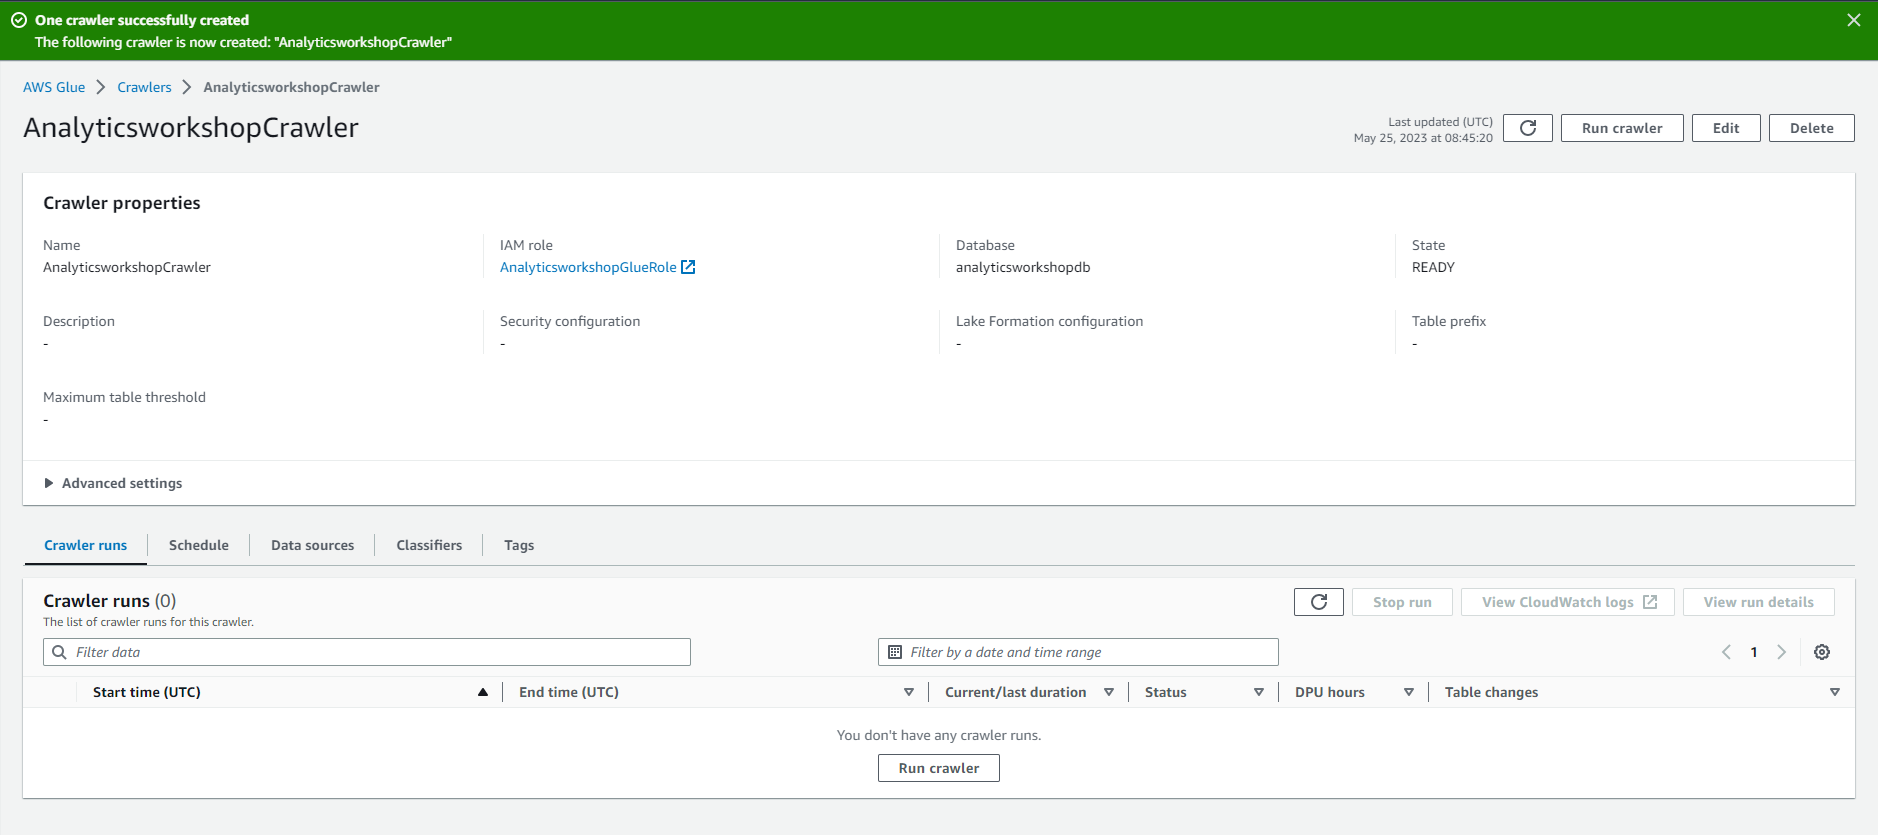
- Select Run crawler to run the crawler for the first time
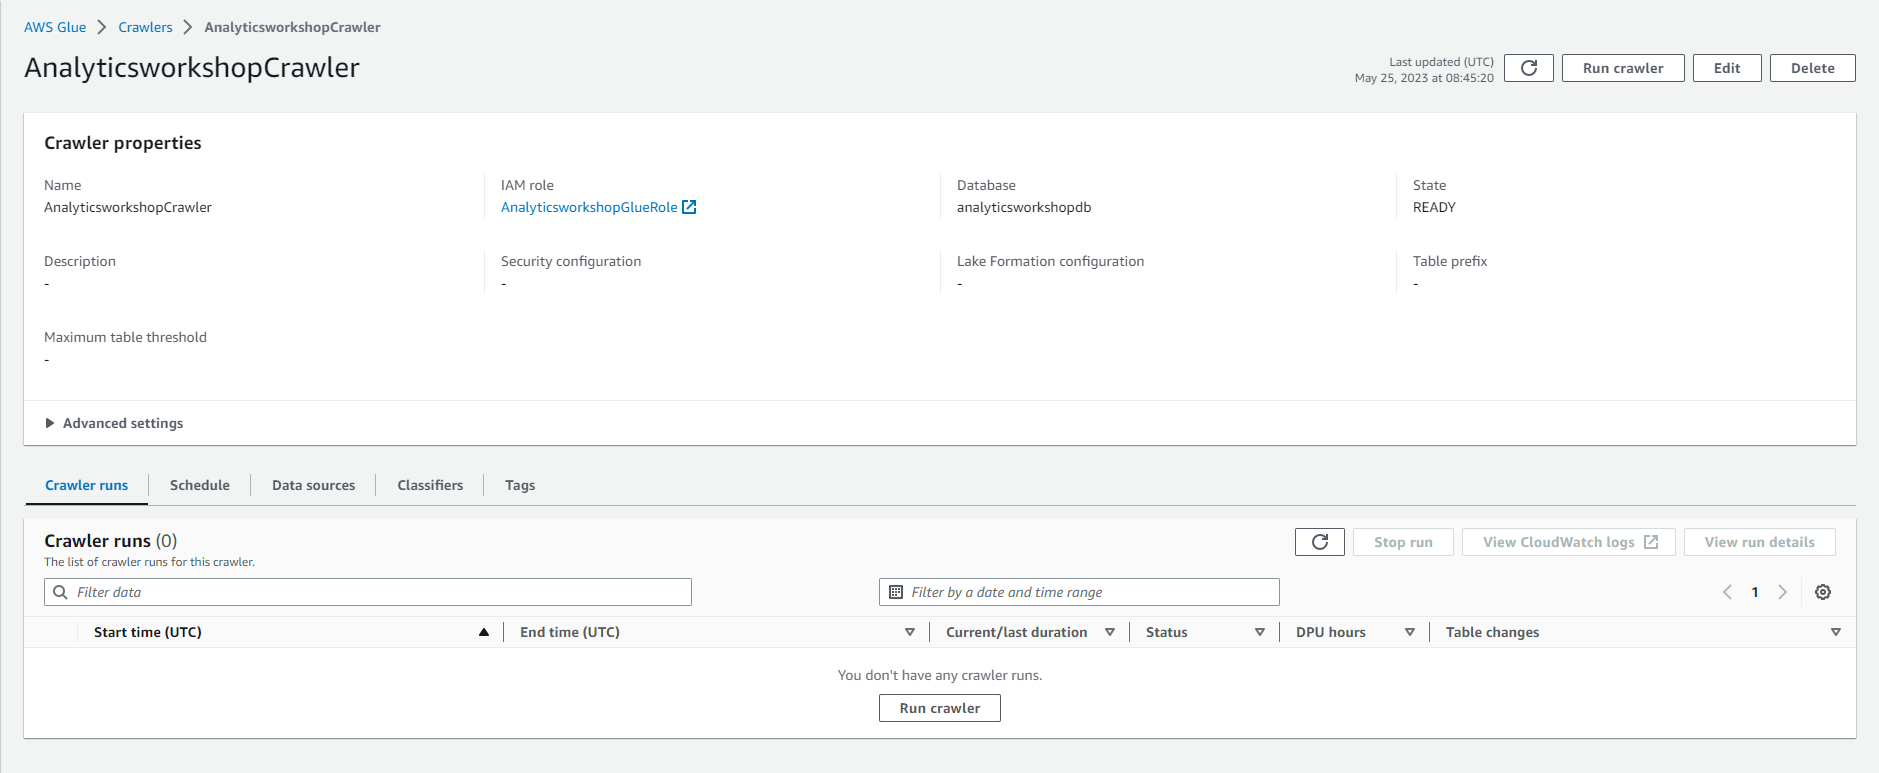
- Wait for a few minutes.